![]()
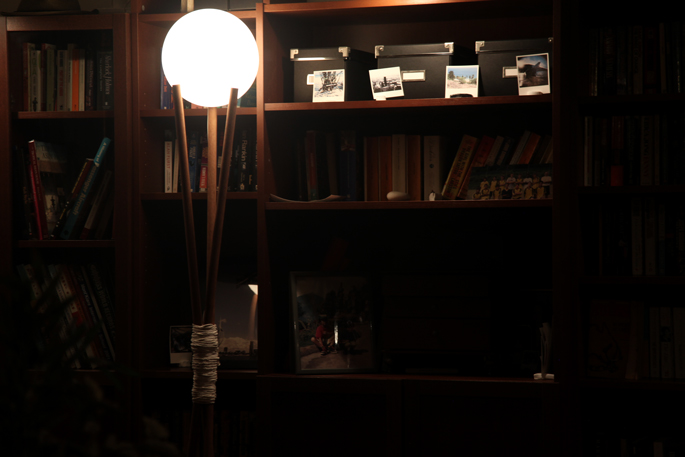
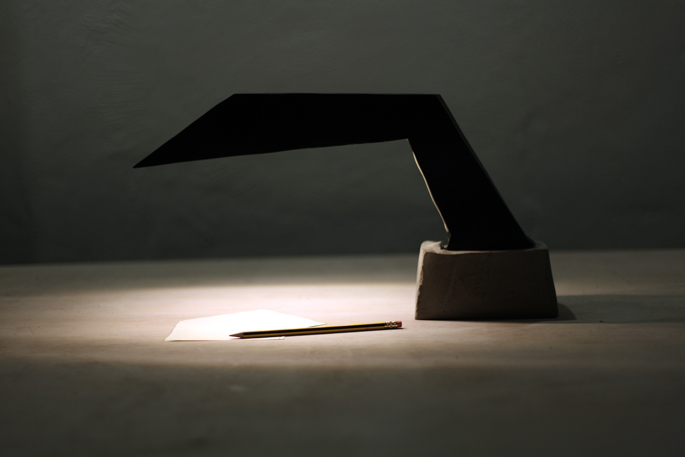
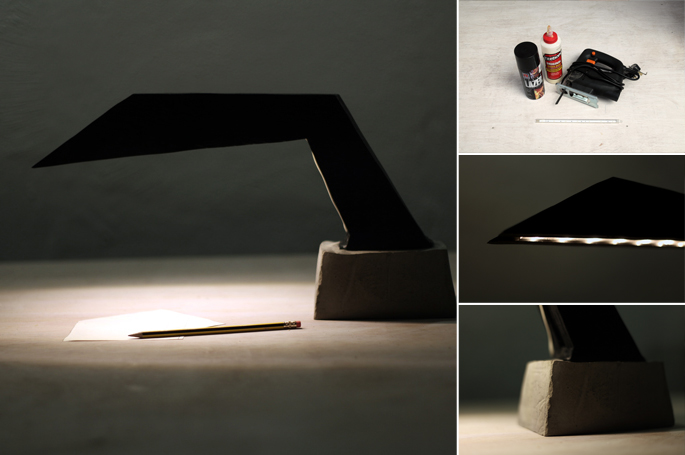
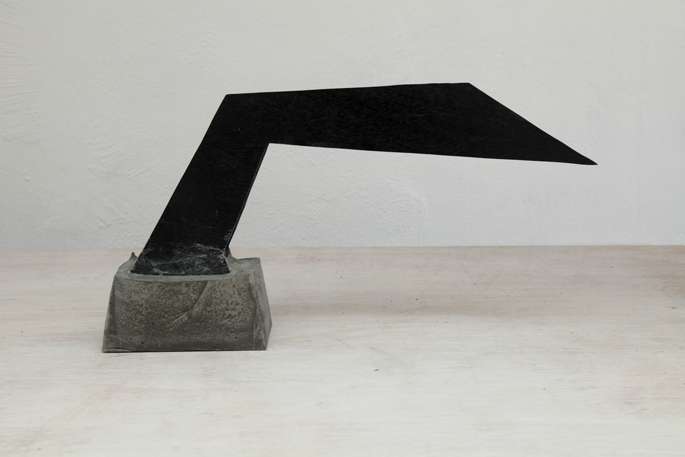
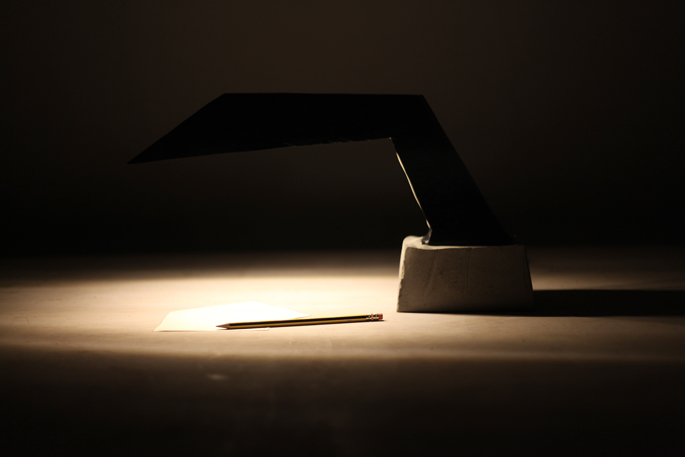
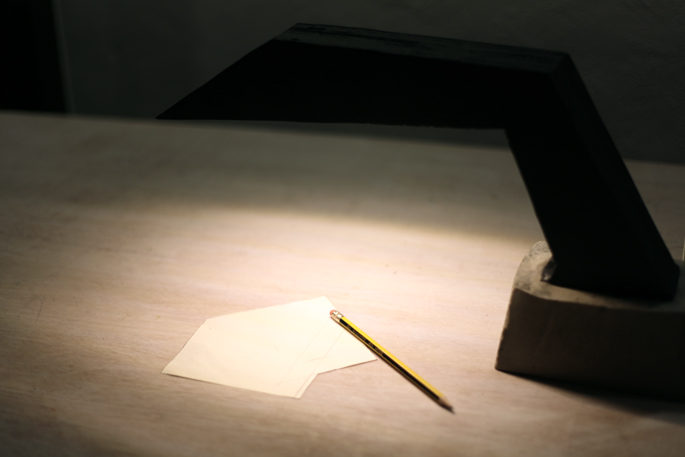
Plywood can be cut into any shape that you can think of. And I liked the idea of having an angular desk lamp – shaped a bit like Batman’s, The Dark Knight Tumbler.
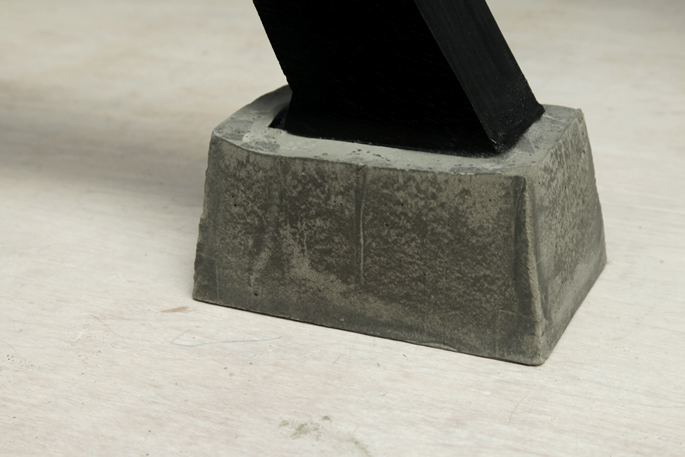
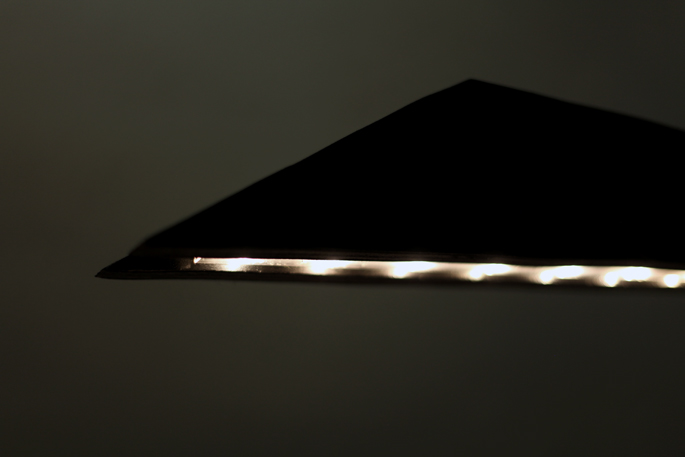
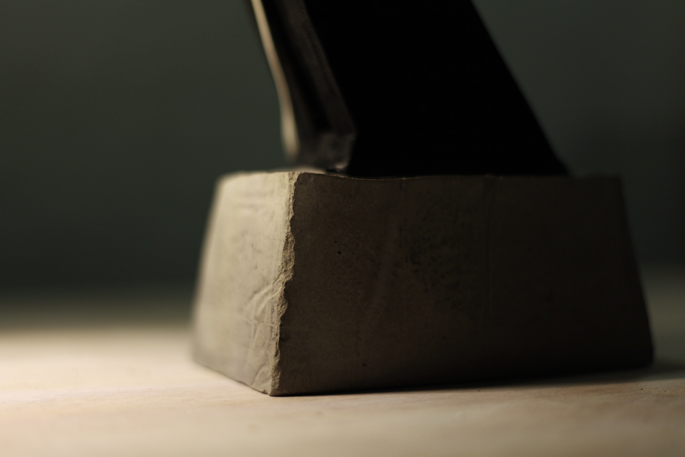
While plywood can be shaped to make the lamp stand, concrete is easy to use and can be shaped into a base. Then all that is left is a strip of LED lights – I got mine at IKEA.
TOOLS
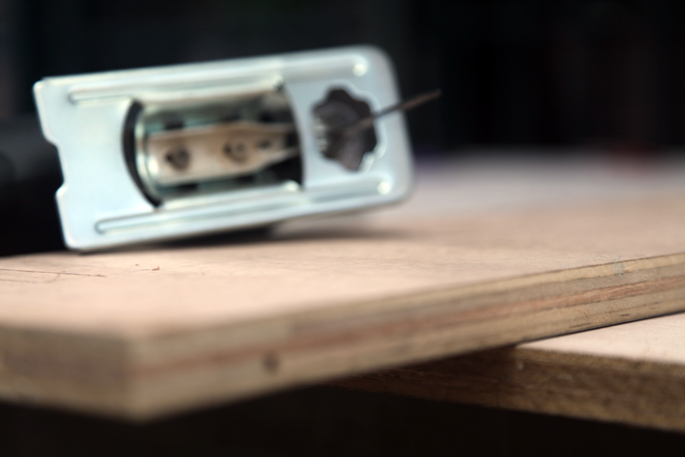
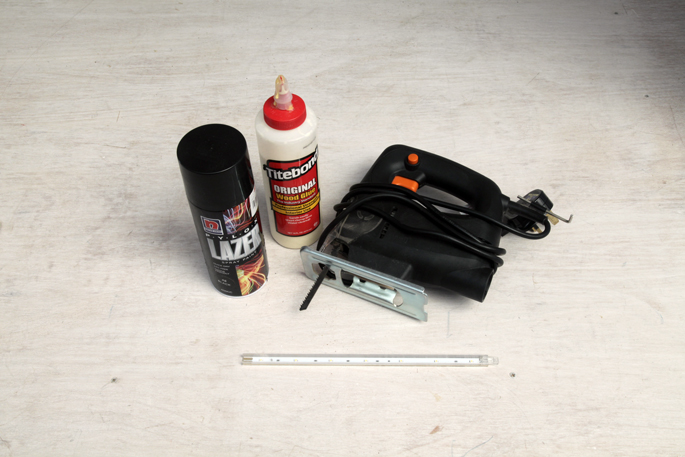
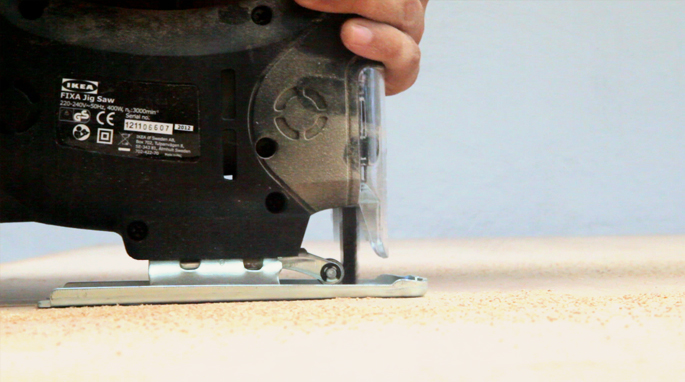
- Jigsaw
The one I have cost $25 from IKEA and is ideal for cutting different shapes from plywood
MATERIALS AND SUPPLIES
- Plywood
I used 3/4 inch thick plywood
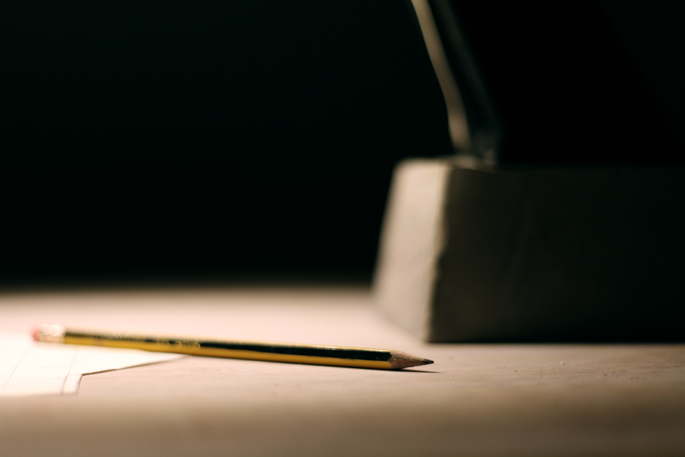
- LED Light
The one I used is the basic DIODER light from IKEA. You can also get strips of flexible LED lights from Amazon.com if you want to create a more curved shaped lamp.
- Concrete and Rubber Gloves
I just used a normal bag of concrete, and had another bag of sand. You can also use Quikrete Concrete Mix which is already mixed – so all you need to do is add water.
- Wood Glue
- Spray Paint
This is if you want to paint your lamp – mine is black.
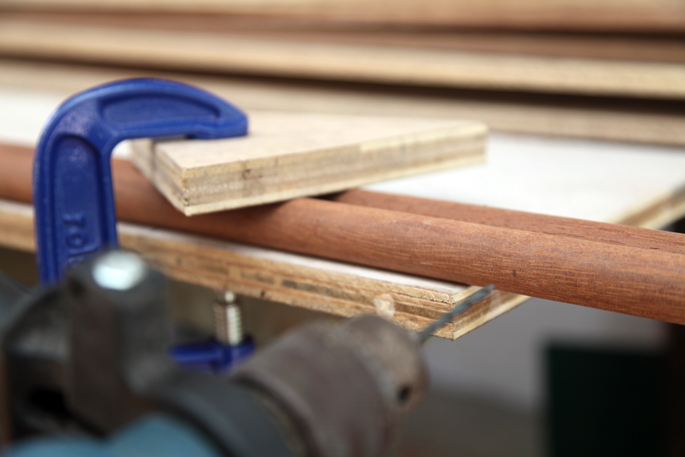
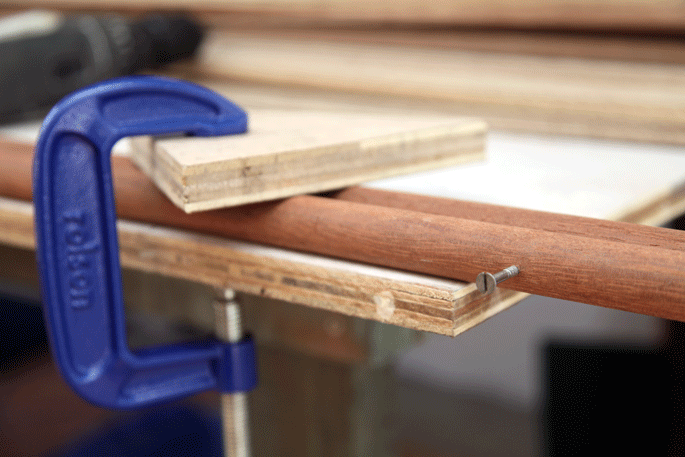
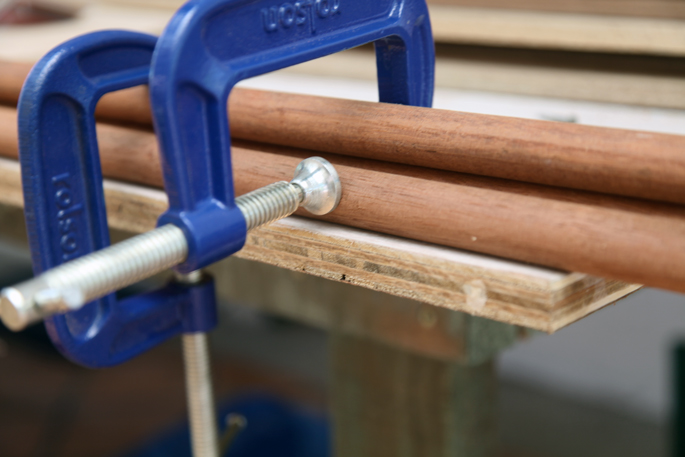
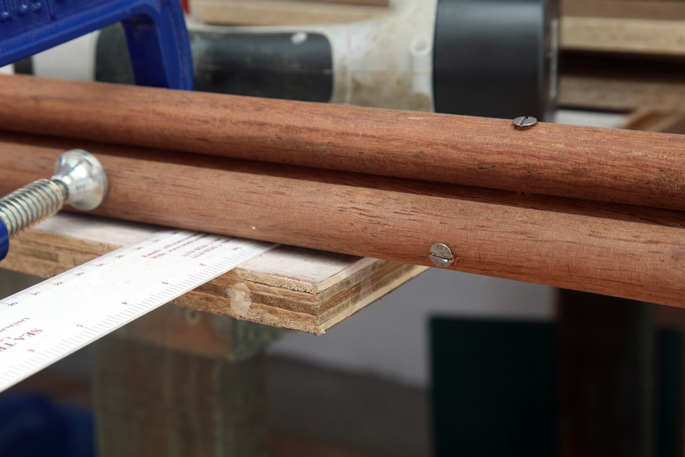
- Clamps
I cut out 3 sheets of plywood and glued them together – so they needed to be clamped
INSTRUCTIONS
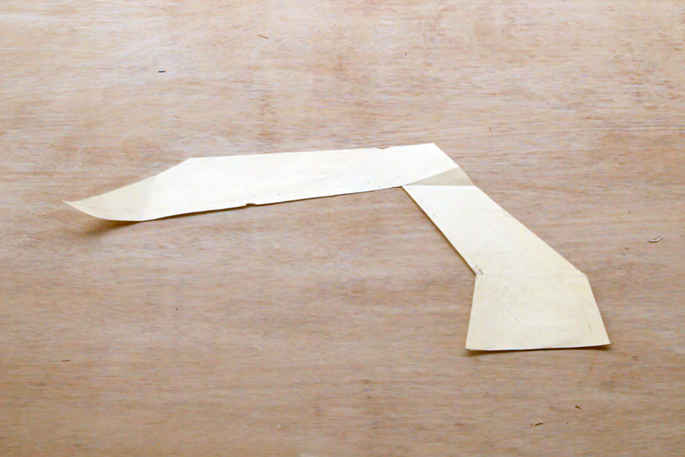
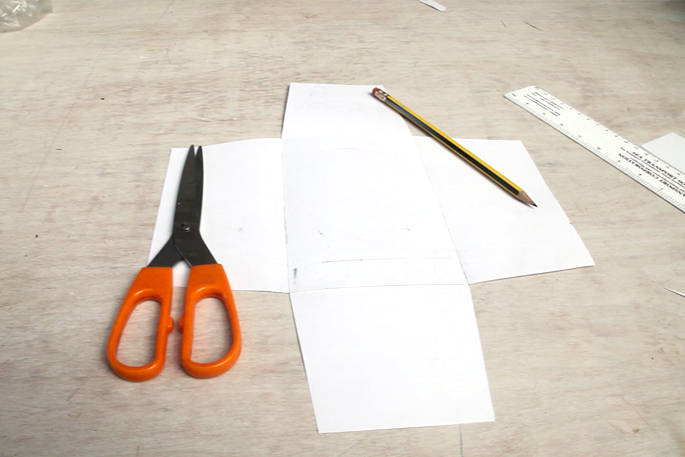
STEP 1: Creating a template
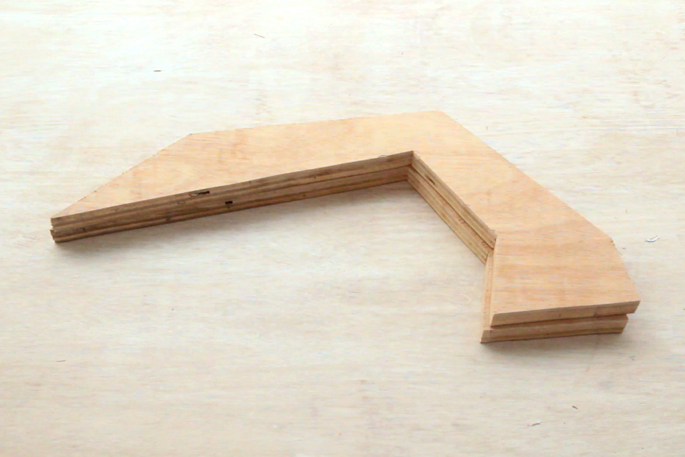
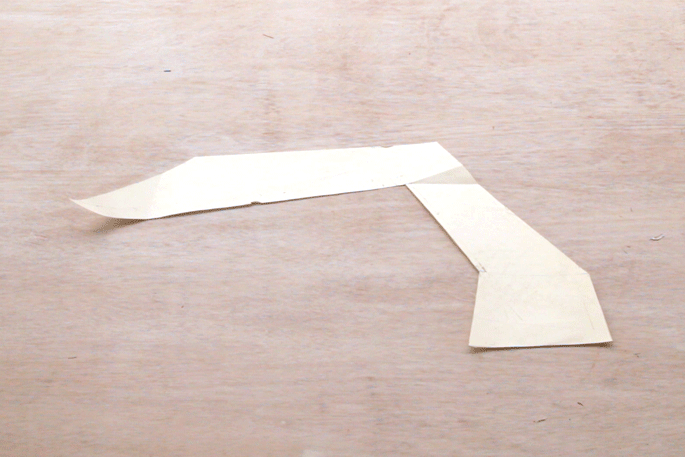
There is no real science here. I knew I wanted an angular lamp, a bit like Batman’s Tumbler. So I doodled it out until I got decent shape. Then I started drawing it to scale – changing the angles and lengths until it looked right. Here are 2 things to keep in mind when creating your own template:
1) Make sure that where your LEDs will go, will be high enough off the ground to be a good light source. Too low and you won’t get much light out of the lamp. Too high (if it is a desk lamp) and the direct view of the LEDs can be blinding and off putting.
2) The bottom of my template, the base, will be stuck in cement. So the angled shape is to help it stay secured in the cement. Cut your plywood so the base has some parts sticking out to keep it secure in the cement.
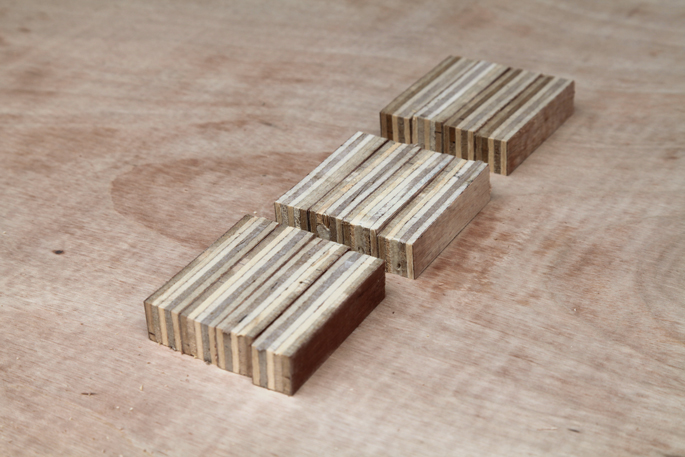
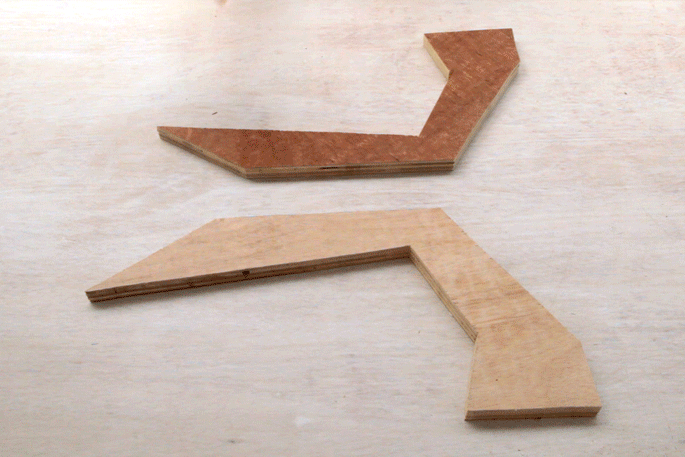
STEP 2: Cutting the plywood
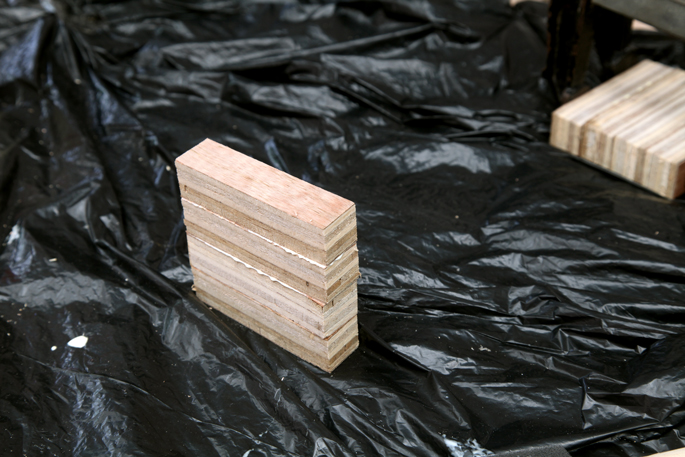
I used tape to stick the template onto the plywood, then traced it, and cut it. I wanted a thick lamp so I cut two pieces which will be glued together.
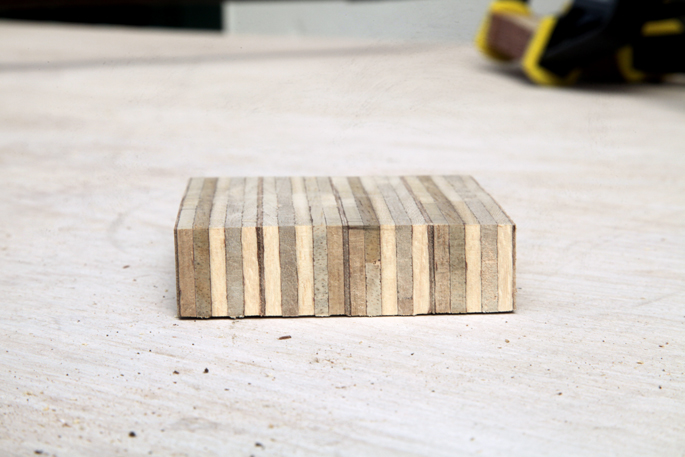
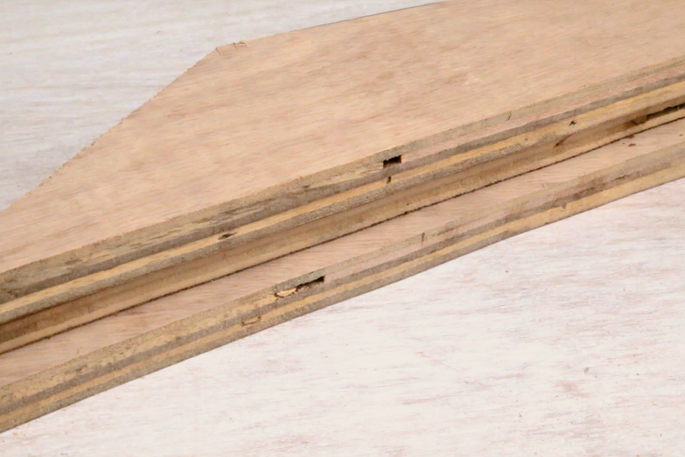
STEP 3: The middle piece
I wanted there to be a middle section where the LED lights could sit inside – hidden away. So I took my template and cut a 1cm off from the underside. Then made the cut from plywood.
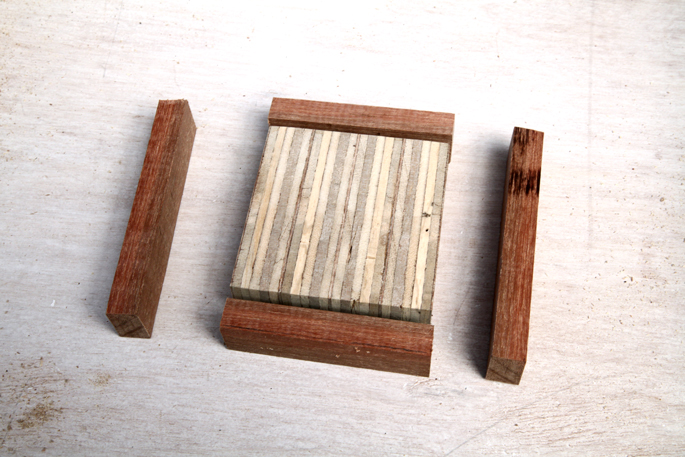
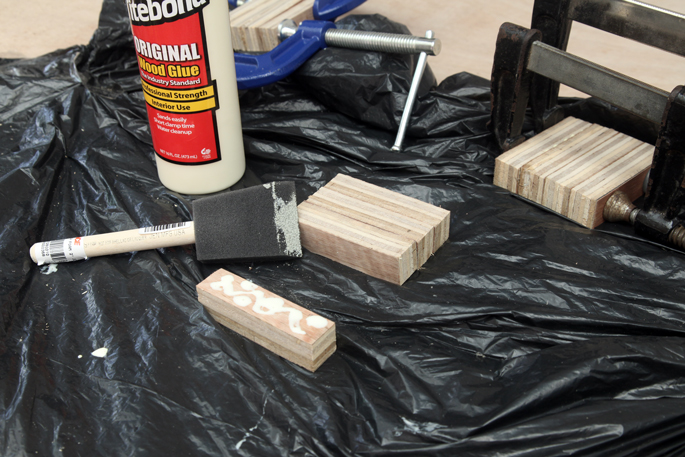
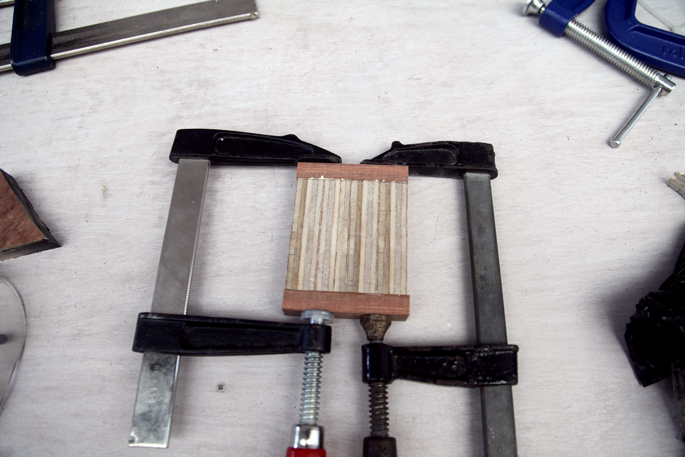
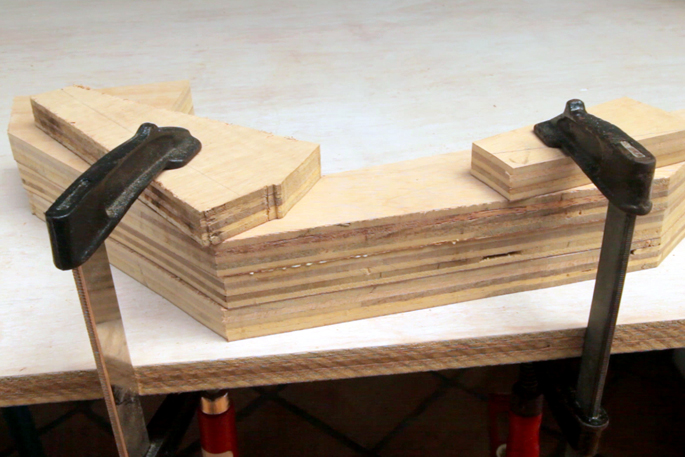
STEP 4: Glueing the pieces together
Take the wood glue and spread it across the plywood. The block of plywood will then need to be clamped down until the glue dries – which takes 30 minutes.
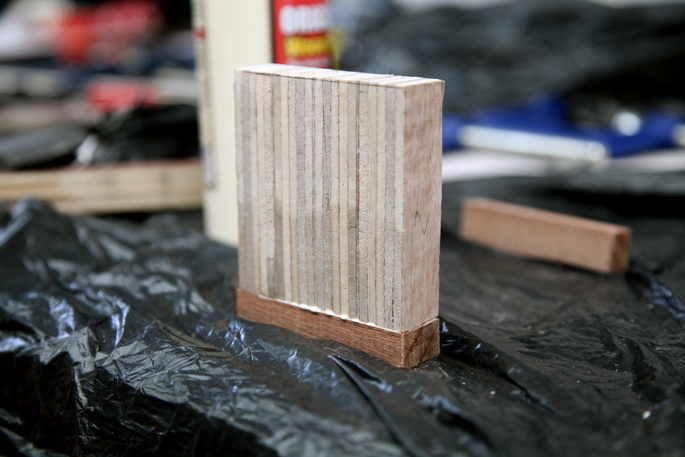
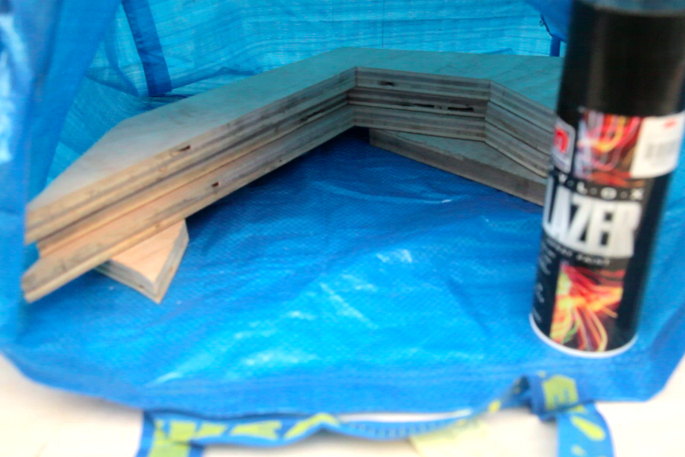
STEP 5: Turning it black
Using an IKEA bag, I placed the block of plywood on top of a piece of scrap plywood and spray painted it black. 2 coats were applied to all sides.
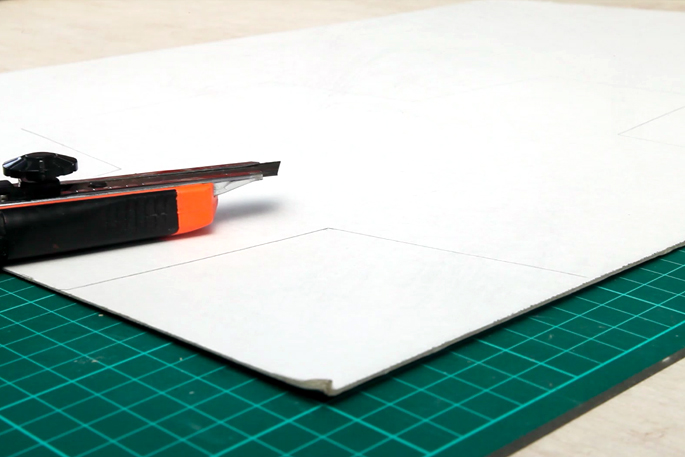
STEP 6: Creating the box for the cement base
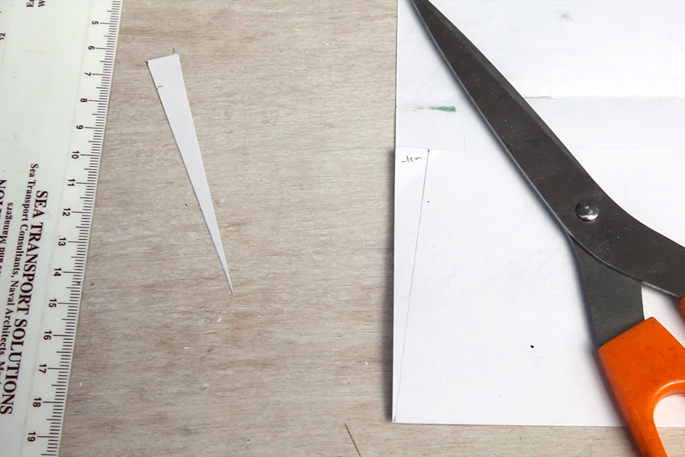
This is another place where you get to play around to get the shape that you want. I took a piece of paper and traced the bottom of the lamp base onto it. I then added 1 inch to all of the sides. Then I folded the paper up to get the height of the box I wanted.
After cutting this cross shape out, I then minus 1cm from all of the corner edges and drew a line from the base to create an angle.
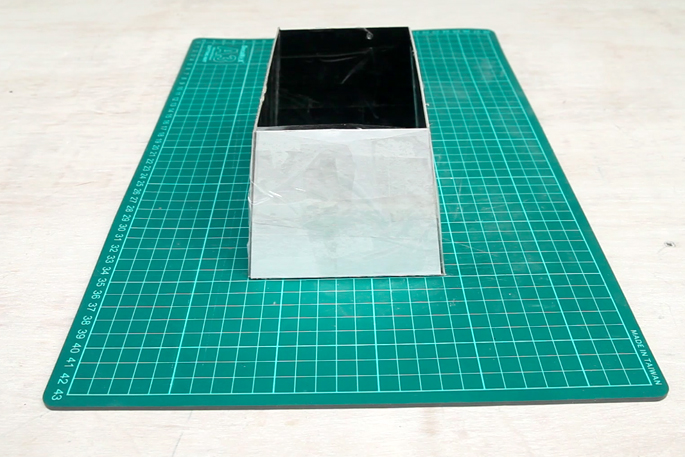
STEP 7: Cutting out the cement box aka the formwork
The box template was traced onto a thick piece of cardboard. You going to need to use thick cardboard since the cement will want to bulge out. Then cut out the template.
Next, I used a box cutter and went along the inside lines – not all the way through. This scores the cardboard creating clean groves to fold the cardboard.
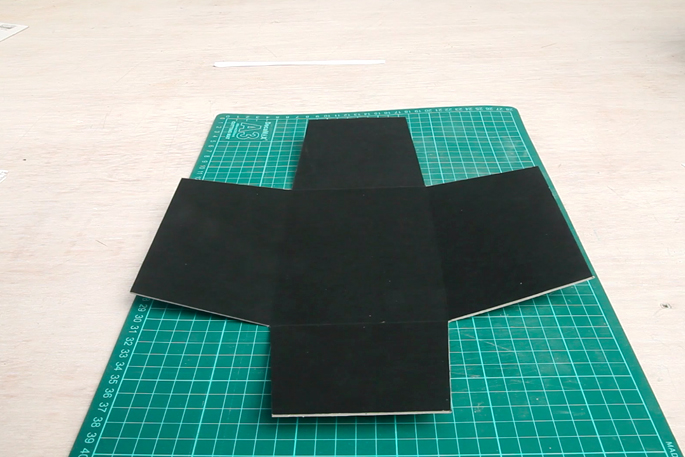
STEP 8: Waterproofing the cardboard
Tape the inside section of the box to waterproof it.
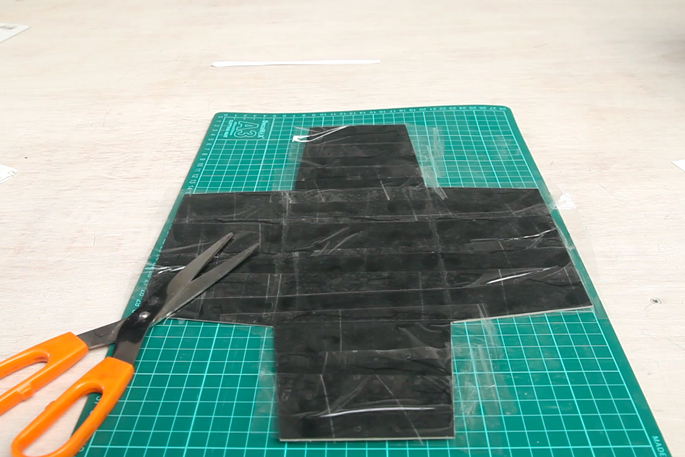
STEP 9: Taping the box together
You want to make sure that you tape the sides together well – so that it holds together when the cement gets poured in.
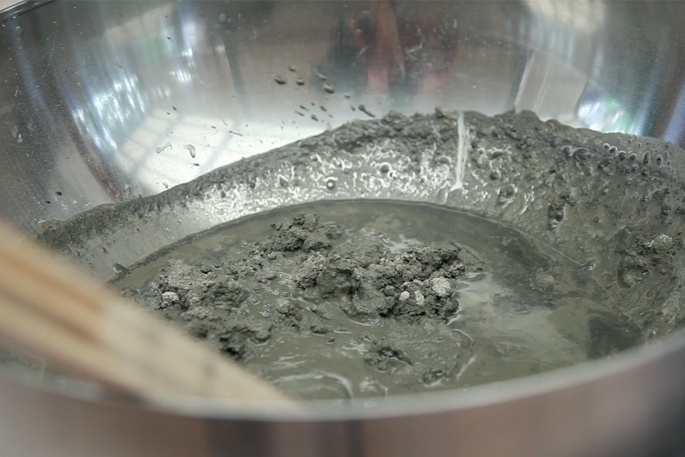
STEP 10: Mixing the conrete
Wear rubber gloves for this next step. I’ve had cement burns while building in the Philippines, and it hurts.
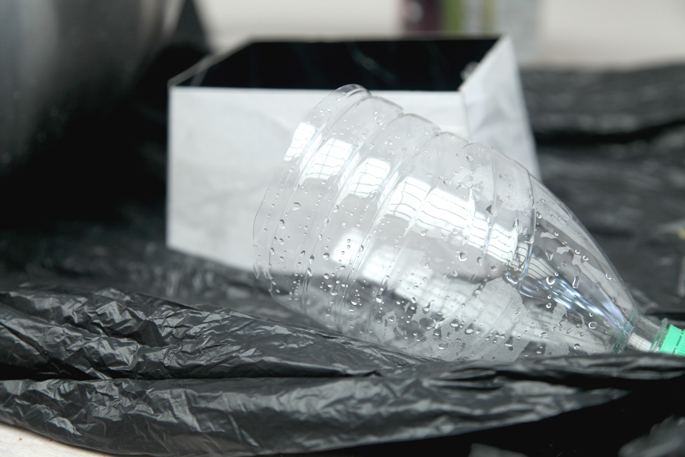
Follow the directions on your concrete bag – whether you need to mix in sand and water or if you just mix in water. I cut the top of a water bottle to help me scoop up the concrete powder and it was later used when pouring the cement into the box.
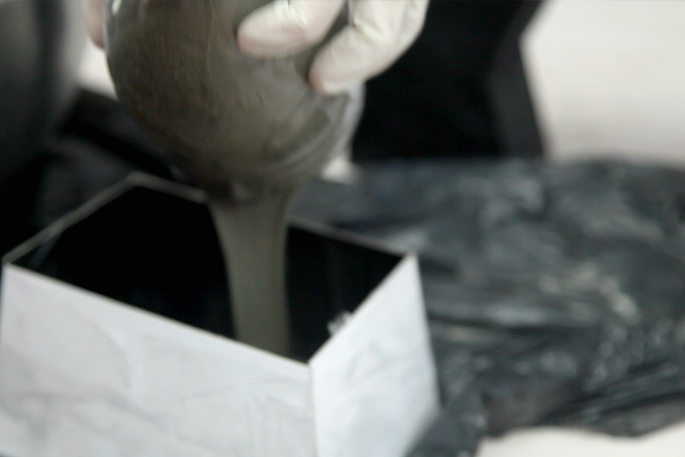
STEP 11: Pouring the floor
I poured in a layer that was 1/2inch to 1inch first, to create a bottom layer. Shake the cardboard box around a bit to flatten out the cement.
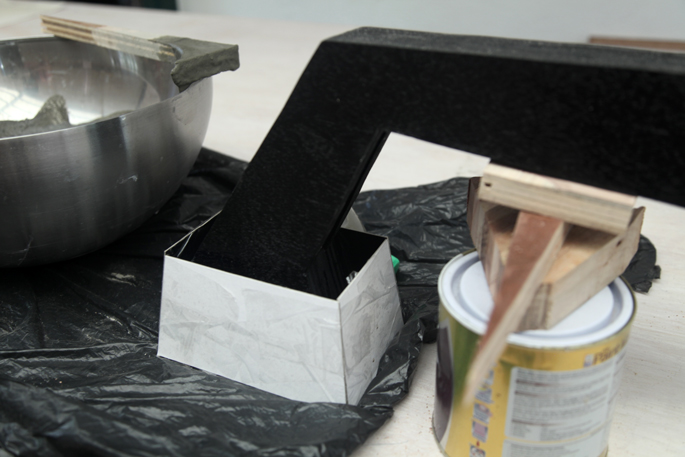
STEP 12: Inserting the lamp stand
Now that there is a bottom layer, the lamp stand can be put inside of the box. I used a paint tin and some scrap pieces of wood to hold up the lamp.
STEP 13: Pouring the cement
As you pour in the cement, take a thin stick and poke the cement all the way around. This helps release the air bubbles inside. And once you have poured in the cement to the top, use your finger to tap on the sides of the cardboard box – this also helps with the air bubbles.
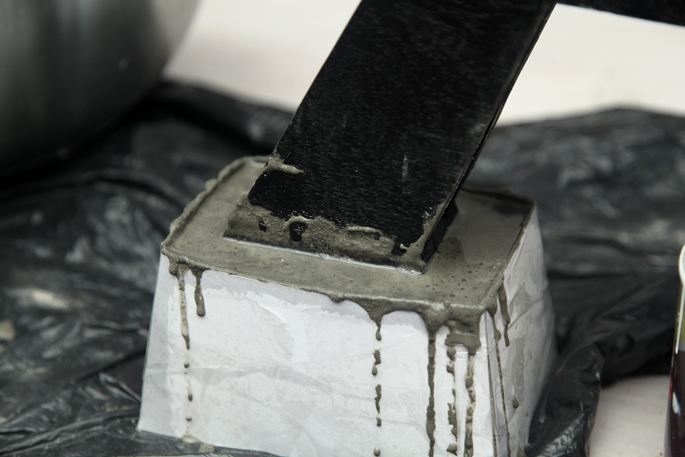
STEP 14: Let it dry
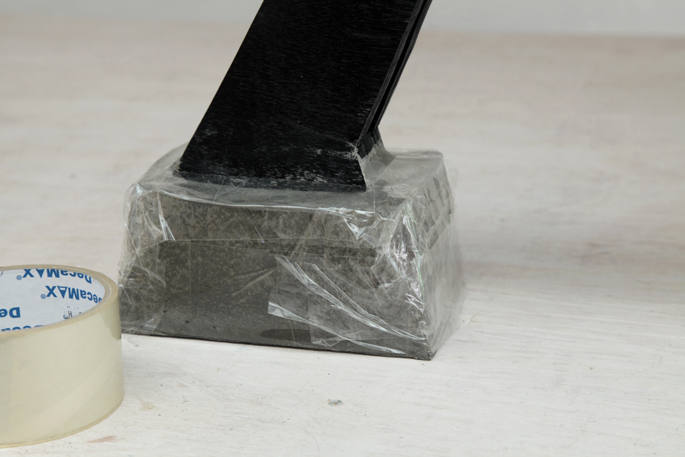
I left it to dry for a day and a half before removing the cardboard box.
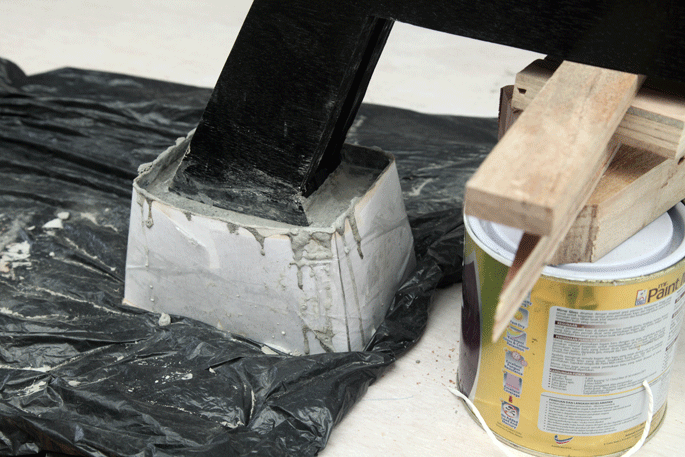
STEP 15: Respraying
The plywood got a bit dirty from the cement pouring. So I taped up the cement base and spray painted it again.
STEP 16: Adding the LED lights
The last step was supergluing the LED light strip into the groove.

Email me at jacob@hometreeatlas.com with photos if you make your own, or if you have any questions.
For more DIY projects and ideas, visit The Mill @ Home Tree Atlas