Home Tree Atlas

DIY

Home Decor Ideas: Using Concrete

DIY Concrete Ideas

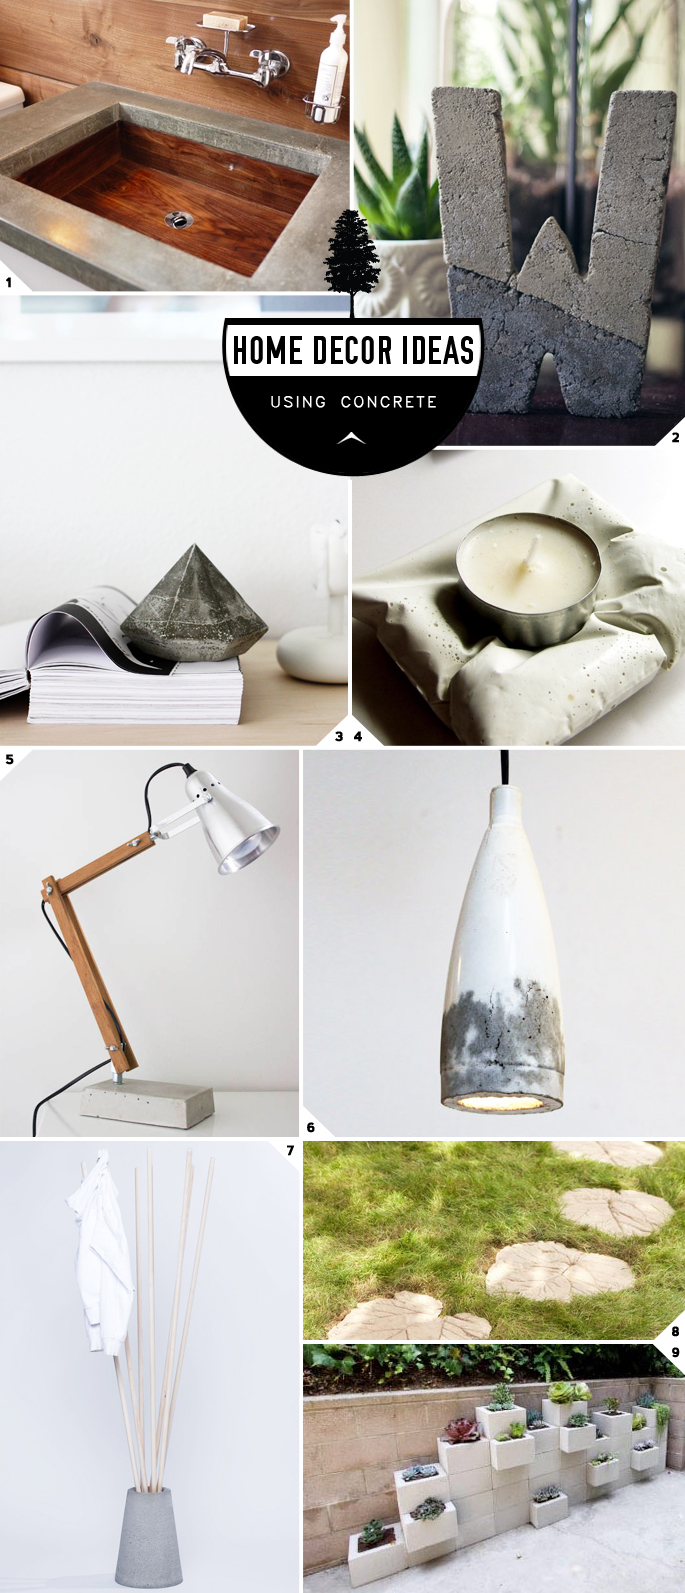
Concrete is one versatile material. You can use it to make small DIY home decor projects, or even something as large as a countertop. DIY concrete countertops can make their way into kitchens or even bathrooms as seen in picture (1), with the reclaimed walnut sink. This post is going to focus more on simpler and smaller home decor projects.

DIY Concrete Ideas: Designer Pieces

Making your own letters is a popular DIY project, whether it is with cardboard, clay, or even concrete. What sets Wit and Whistle’s concrete letter apart is that Amanda went ahead and used two different colors of concrete. Resulting in a designer like piece – seen in picture (2).

It is really great seeing people make designer like pieces at home with ordinary materials like concrete. Over at A Merry Mishap you can follow along with the instructions on how to make the diamond paper weight (3). There are no DIY instructions for the concrete pillows in picture (4), but you could create the same illusion by “pouring concrete into bags then resting an object in the centre”.

Light Up The Night

When it comes to lighting, how about creating your own lamp with a solid, sturdy concrete base (5) – over at Nimi Design. Or follow along with the tutorial at HomeMade Modern to create the industrial chic pendant lamps in picture (6).

Out the Front Door

Working our way out the front door we have a minimalist style coat rack – made with a concrete base (using a bucket as a mold) and dowels (7).

Outside you can get creative with concrete by making your own stepping stones. See how to make leaf stamped ones (8) over at HGTV. Using cinder blocks, you can easily create your own modern wall planters seen in picture (9) – from Apartment Therapy.

Related Posts:

December 13, 2013 in Decor, DIY

DIY Mood Board: Playing With Copper

Playing With Copper: DIY Ideas

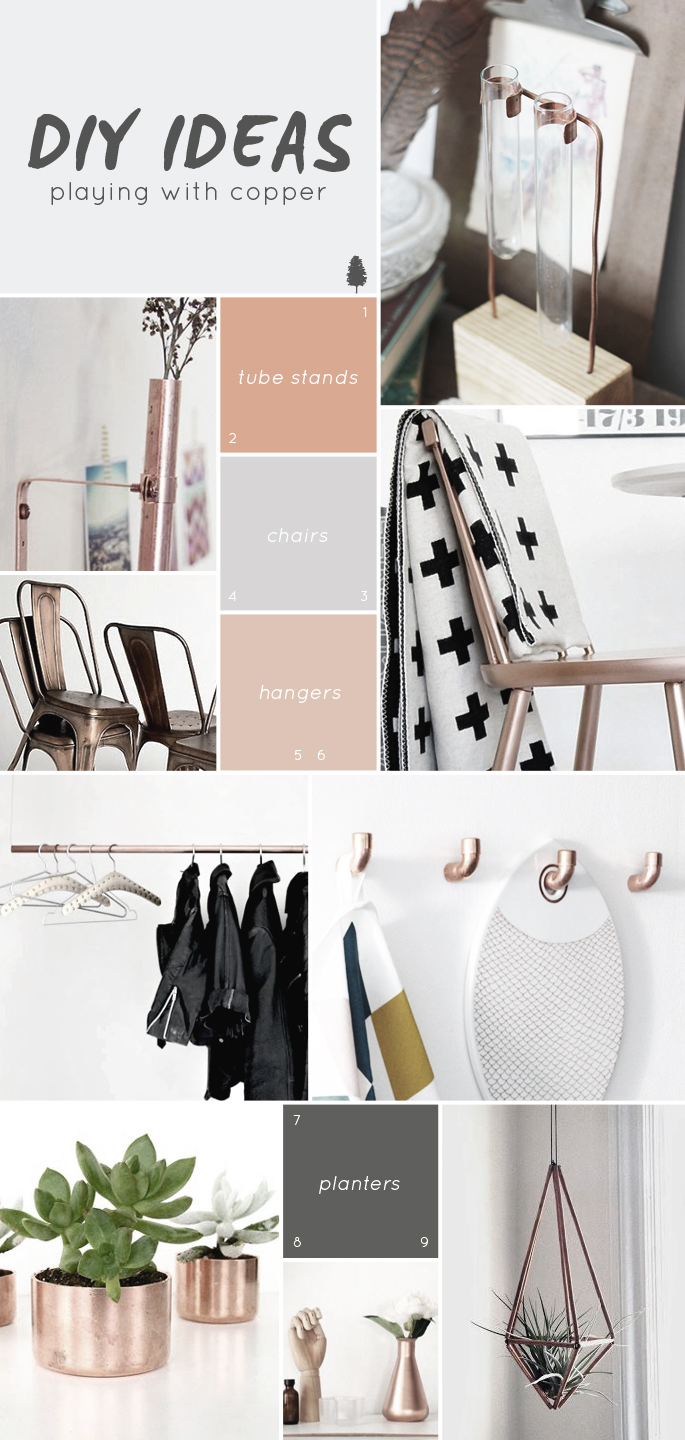
Copper, the sleek material you can buy at a hardware store. Rustic yet polished, it’s no surprise why it is a popular choice for DIY projects. Here are some of the best copper DIY ideas that I have seen and been inspired by so far.

Tube Stands: In picture (1) a block of wood and some copper wire and pipe have been used to create a chemist vase – by A Merry Thought. Chelsea from Lovely Indeed has created a wall mounted test tube like copper wall planter (2). It is a simple and minimalist way of adding some plants into a room’s decor. For more plant decor ideas have a look at my post here: Elegant and Stylish Plant Decor Ideas.

Chairs: Room of Karma has upcycled old wooden chairs (3) by painting them with copper colored paint. The chairs in picture (4) are from Anthropologie and is not an actual DIY project. But by using metal instead of wooden chairs and painting them in copper spray paint you can get a whole different effect.

Hangers: Here are some great DIY ideas using copper piping – they are so stylish and minimalist. For the floating clothes rack (5), by Love Aesthetics, all you need to do is hang a long copper pipe using two hooks and metal cable. This would make a great looking coat rack by the front door.

The copper kitchen hooks DIY (6) comes from the Finnish blog, Bambula. They were made from half inch copper elbows. To find out how they were made, check out the pictures here.

Planters: To make the planters in picture (7), all you need are some cap fittings and ketchup (yup). Check out the tutorial over at Poppytalk.

Another spray painting idea in picture (8), but this time a glass beaker gets the royal treatment – by A Merry Mishap. And lastly there is the hanging geometric planter (9) by Fire and Flowers.

Related Posts:

October 24, 2013 in Decor, DIY

Simple DIY Clay Photo Display Stands

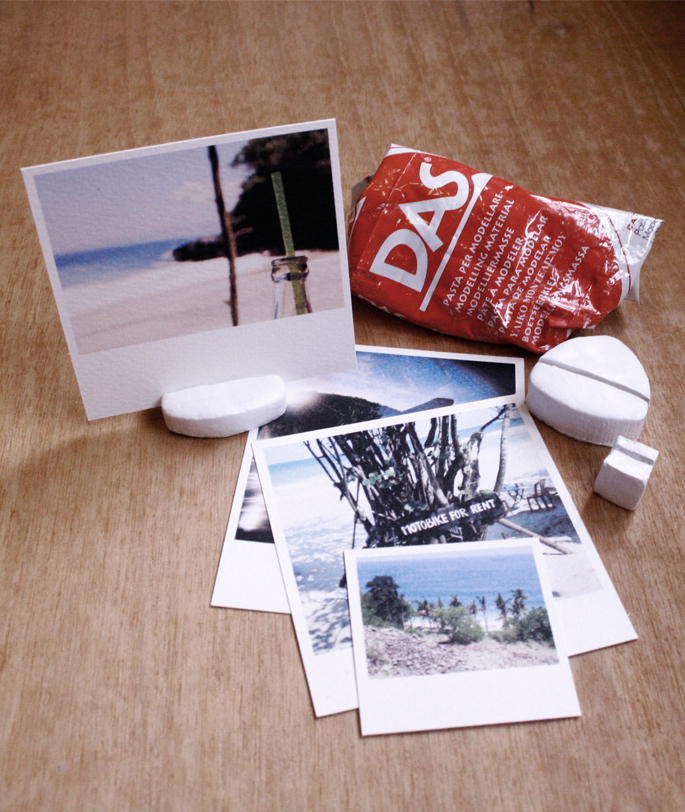
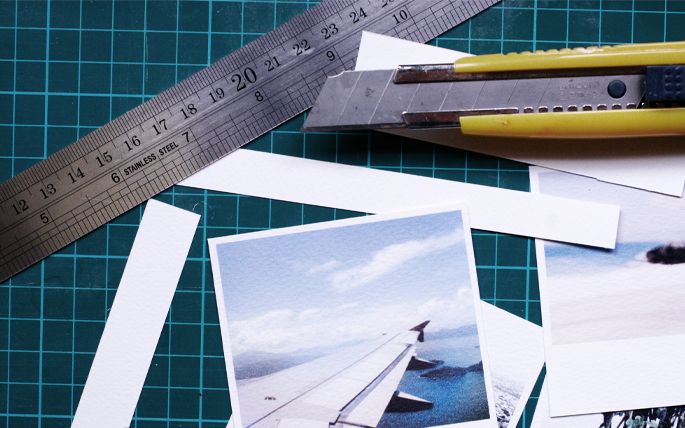
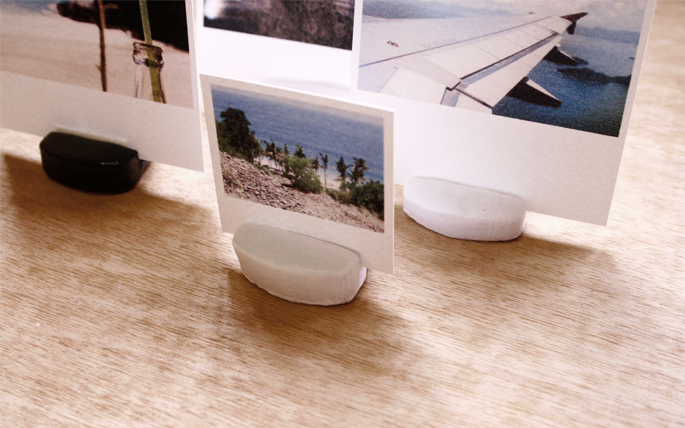
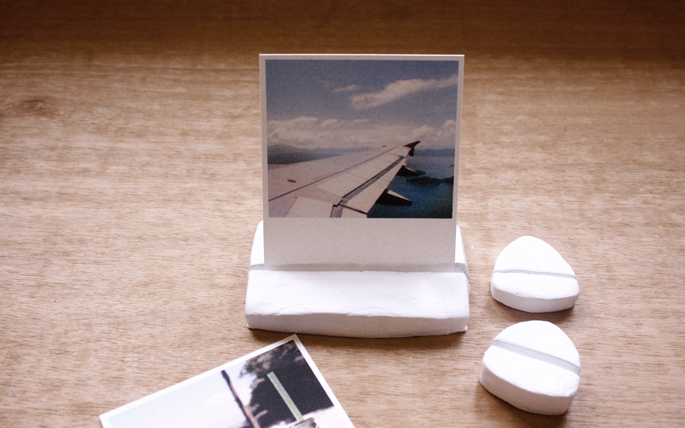
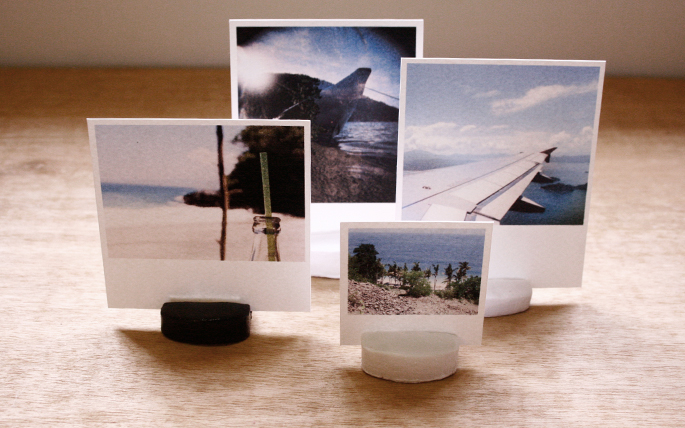
DIY Air Dry Clay Photo DisplayAfter working on the travel photos confetti project, I started looking for more ways to display photographs around the house. This is the first time I’ve used air drying clay (it feels funny) – so there was a little bit of experimenting involved.
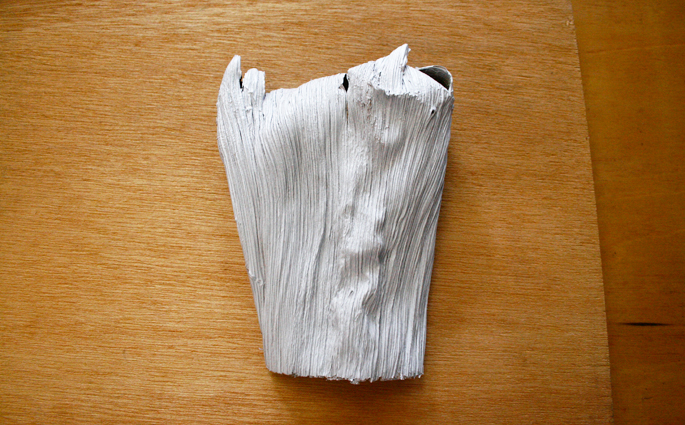
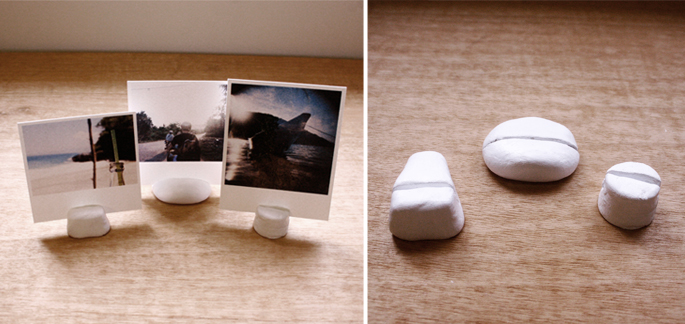
Here is the first batch of diy photo stands:

Clay Cutting Board

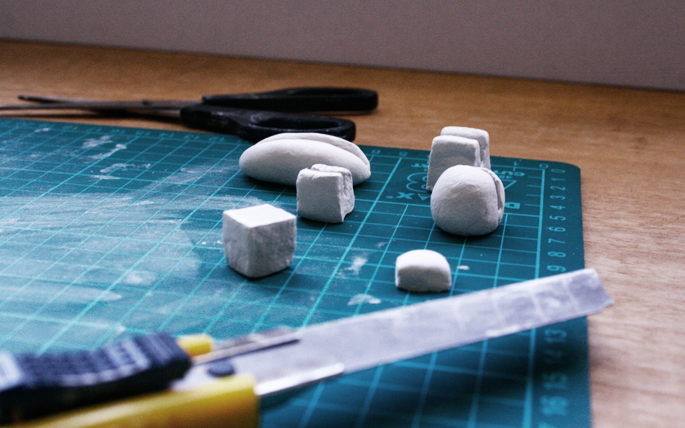
I was using DAS air drying clay, so after cutting a piece of the clay to shape I waited 5-10 minutes for the clay to harden a bit before creating a grove for the photos to sit in.

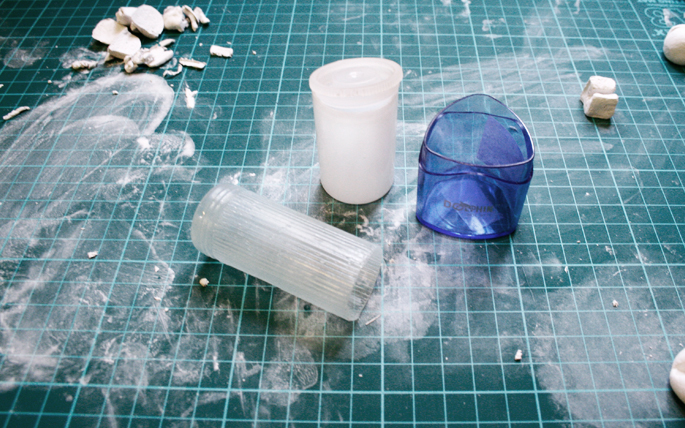
I thought I could create tiny little pieces, but soon realized that air drying clay is pretty light weight and so any large photographs would tip the photo stand over. The first batch was hand molded. It’s quite tough to get a perfect shape (sphere, cube, etc.). So for the next batch I went looking for things I could use as molds/cutters.

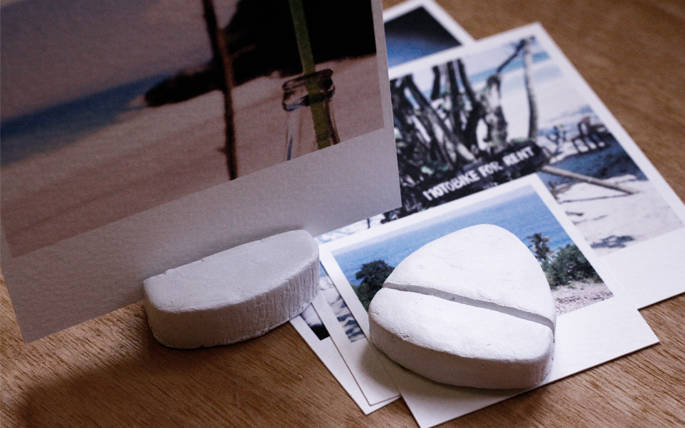
The triangular pencil sharpener ended up making the best shapes:

Cutting Molds

Here are some of my travel photographs I printed out on some thick watercolor paper:

Travel Photos

Polaroid Style Photos Printout

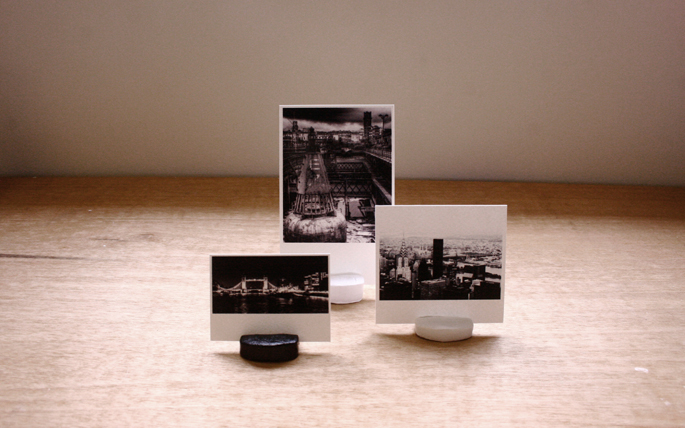
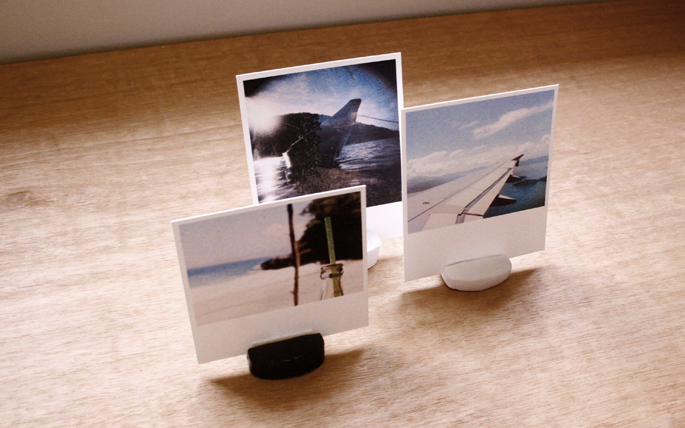
Here are some pictures of the final pieces, painted with glossy white and black paint:

DIY Photo Stand

Clay Photo Stand

Close Up Photo Stand

Clay Photo Displays

Trying out different shapes:

Polaroid Photo Stand

Clay Shapes

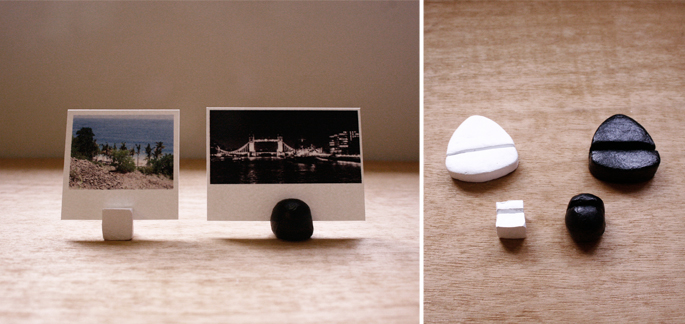
Miniatures:

Mini Displays

In the end, the triangle shape worked best:
DIY Clay Stands

Related Posts:

May 30, 2013 in DIY, Made By HtA

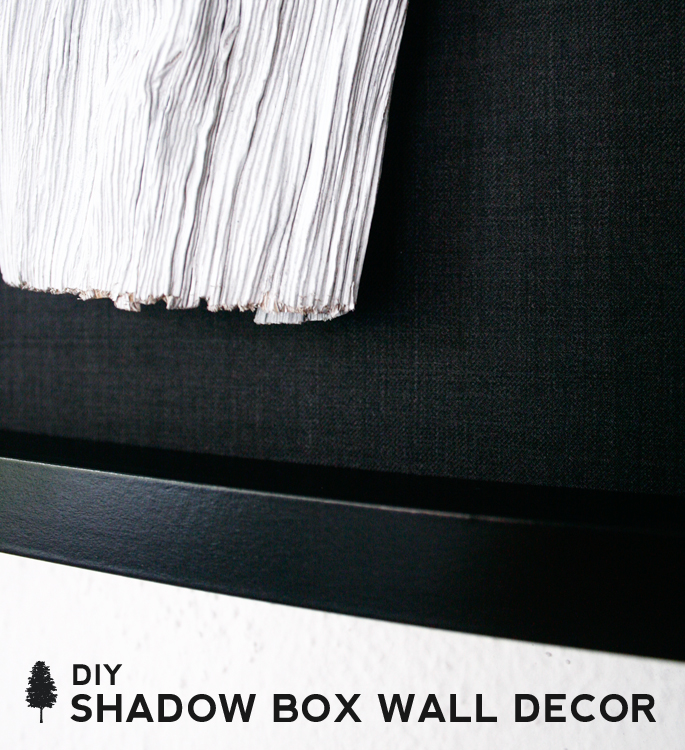
DIY Shadow Box Wall Decor

DIY Shadow Box Wall Decor Home Tree Atlas

DIY Wall Decor

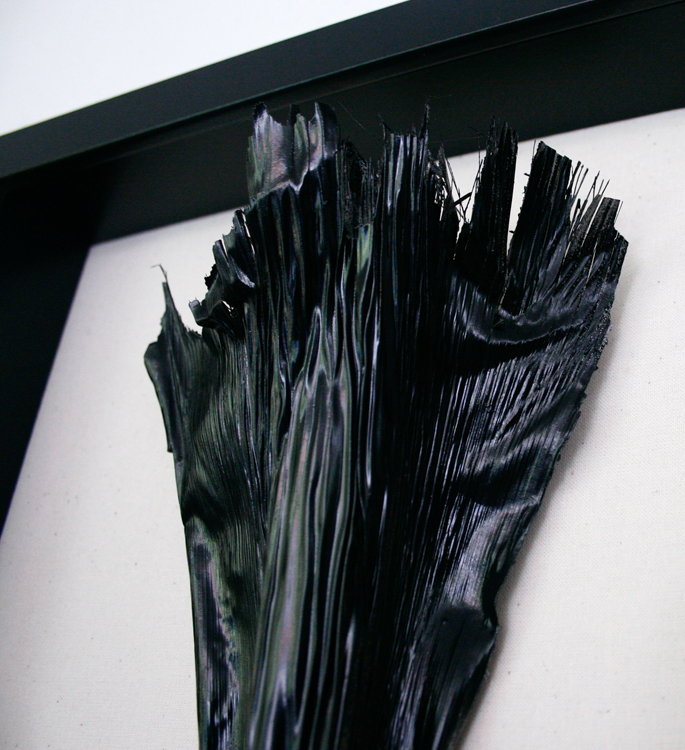
This was a simple project. After seeing the shadow boxes on Restoration Hardware with the sea fans, I was inspired. The first step was trying to find a square shadow box – enter the IKEA RIBBA frame. The only other major things I needed were some decorative organic pieces that I could spray paint, and some fabric for the background.

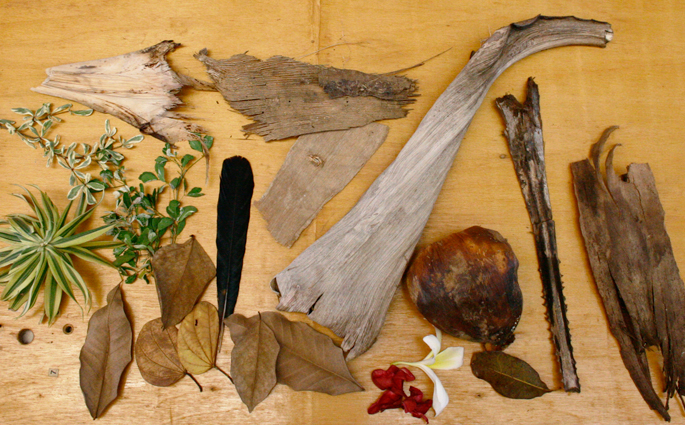
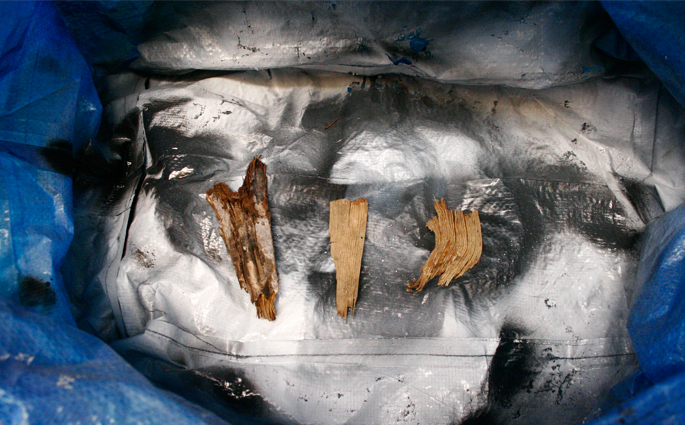
My collection after taking a walk around the neighborhood.

DIY Wall Decor

An IKEA shopping bag comes in handy when spray painting.

Spray Paint Wood

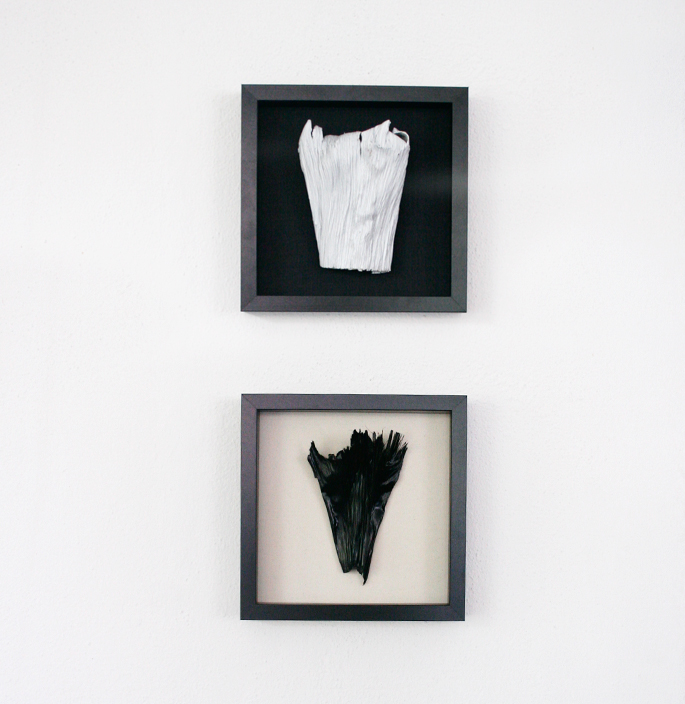
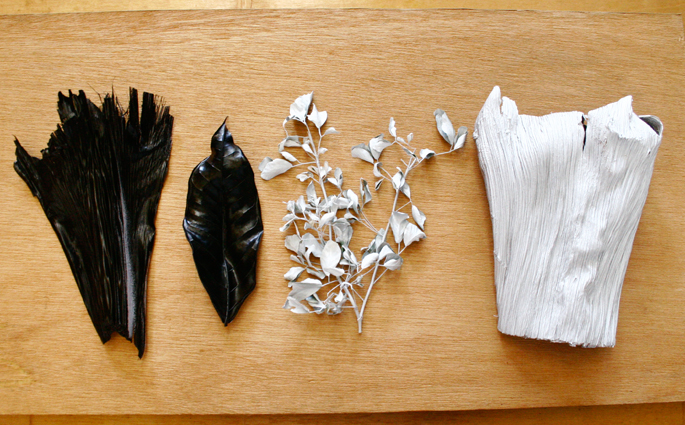
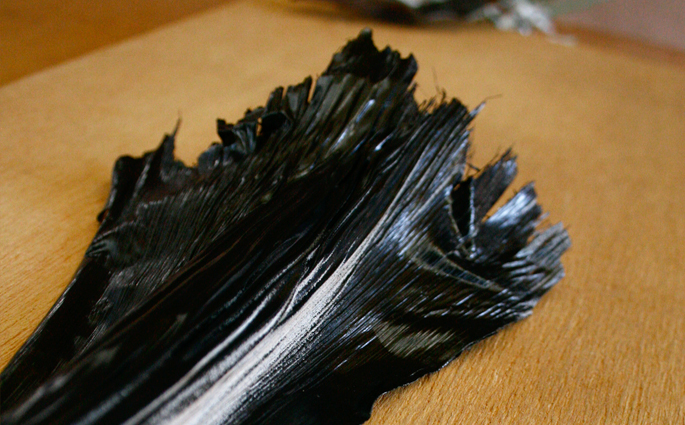
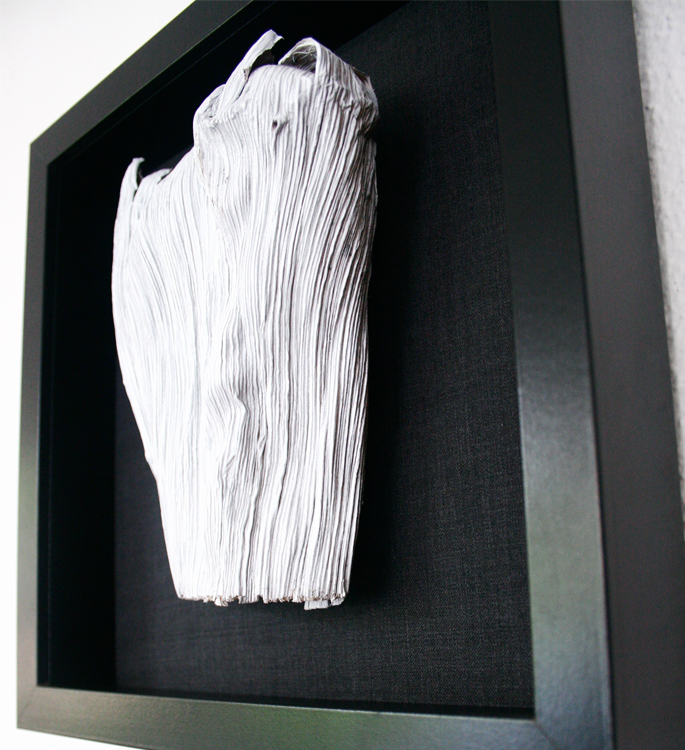
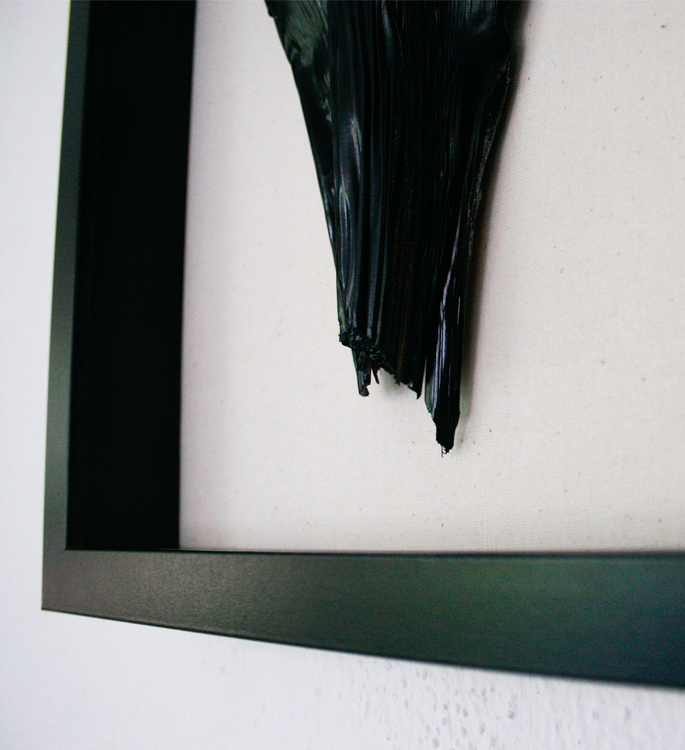
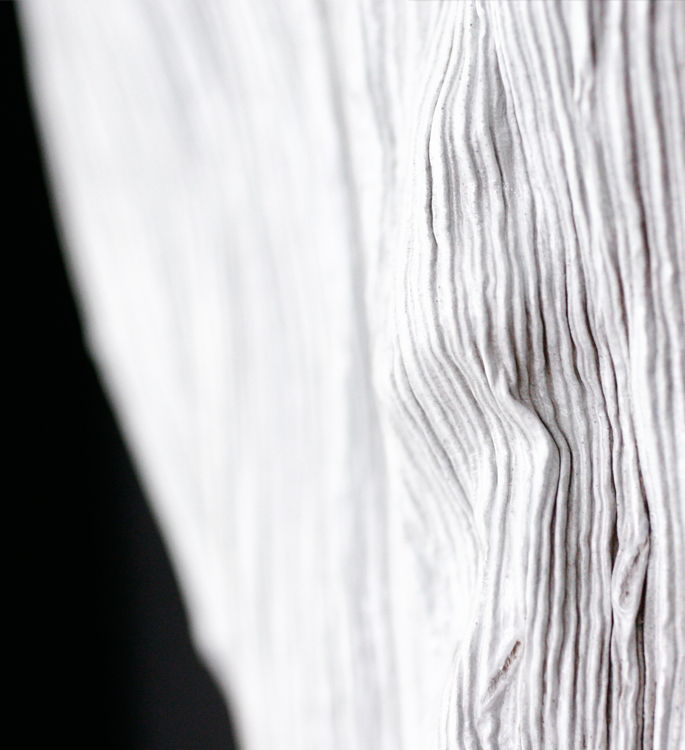
The plan was to create two shadow boxes. One with a dark fabric background with a light/white colored decor piece. The second box would have a light colored background with a black display piece. Here are the semi-finalist decor items.

DIY Wall Hanging

Home Decor Wood

Spray Paint Leaf

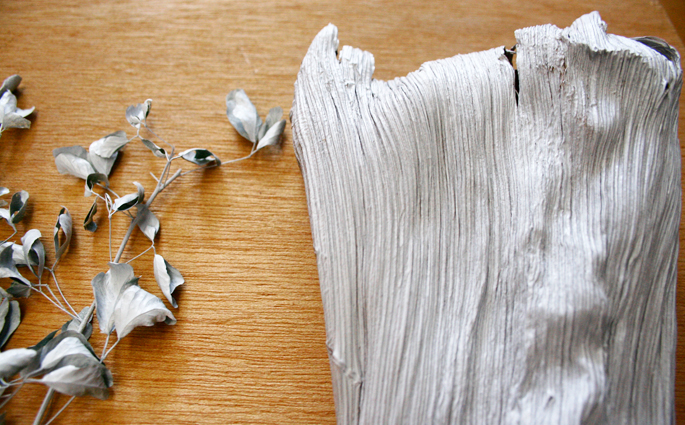
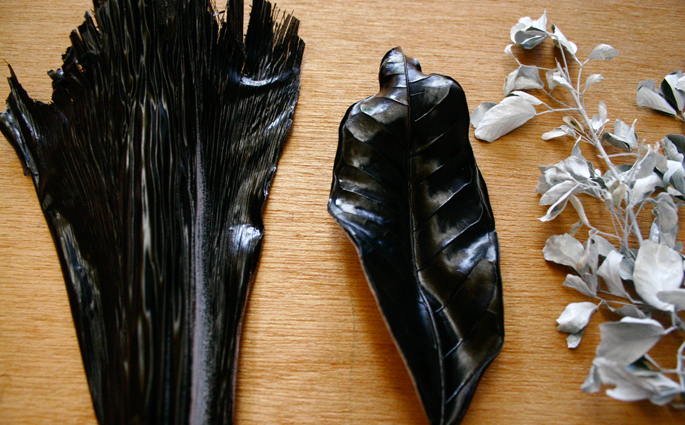
After seeing how the pieces turned out after being spray painted (also considering the size and how decorative they are) here are the final two pieces.

Wood Spray Paint

Final Piece

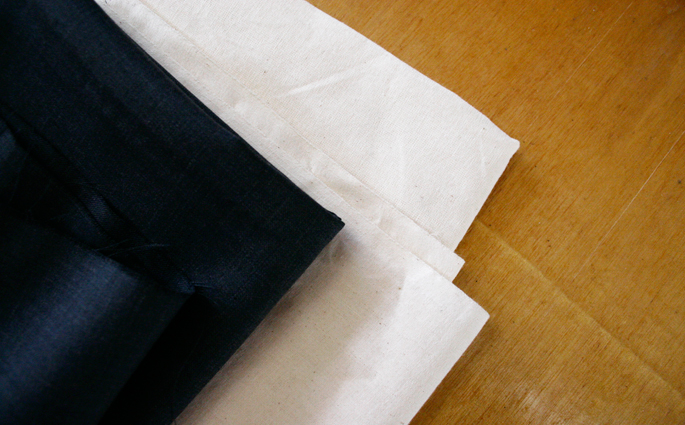
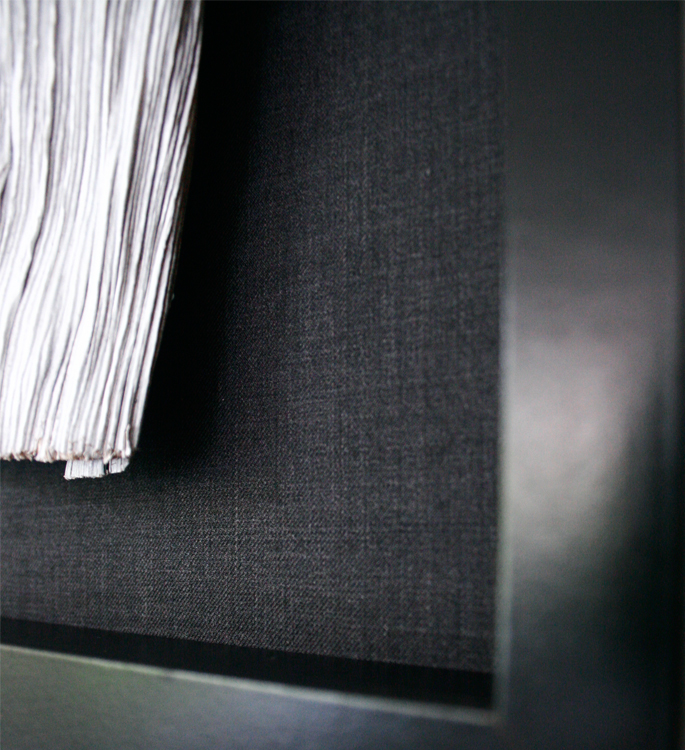
Here is the fabric choice. There is the off white canvas style fabric which I had lying around. The grey one was hard to come by. A) I didn’t want to spend a whole bunch on it (men’s suit fabric comes at a high price), and B) I didn’t want there to be any pattern (which a lot of them have) or any shine. I ended up finding this piece in a luxury fabric shop in the scrap basket.

Fabric Choice

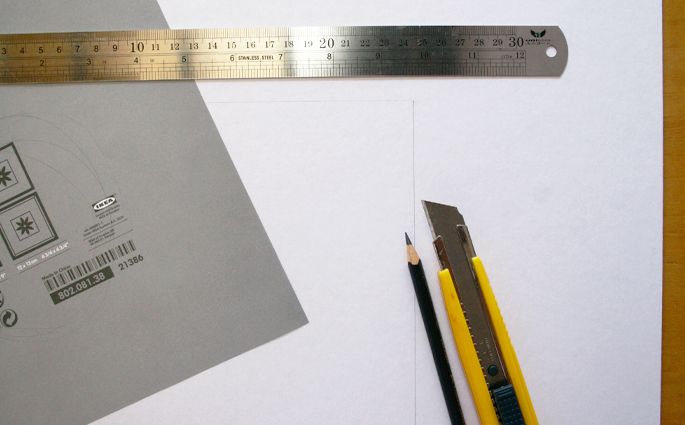
The next step was cutting a piece of cardboard to stick the fabric to.

Cutting Board

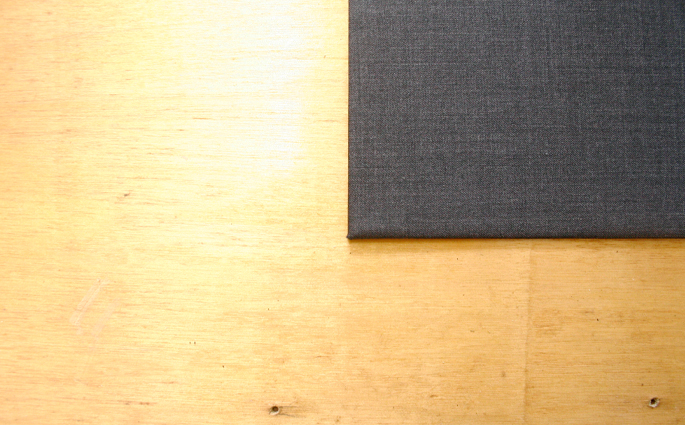
The board and fabric cut and glued together.

Fabric Glued

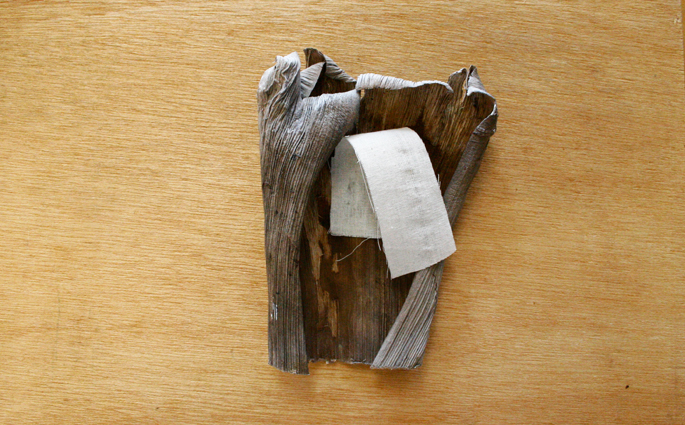
The back of the organic pieces were a bit odd. I ended up gluing a strip of fabric into the crevices and glued the other end to the fabric board.

Attachment

And that’s it. I stuck with basic colors black/white for the custom DIY shadow box designs, but am curious to know how colorful versions of this would look like. Here are some close ups.

Fabric Wall Decor

White Wall Hanging

Black Decor

Close Up

White Shadow Box

Related Posts:

 Travel Photos Confetti Display – Plus DIY Printables Guide

Home Tree Atlas DIY Projects

Related Posts Plugin for WordPress, Blogger...
May 24, 2013 in DIY, Made By HtA