Home Tree Atlas

Bedroom

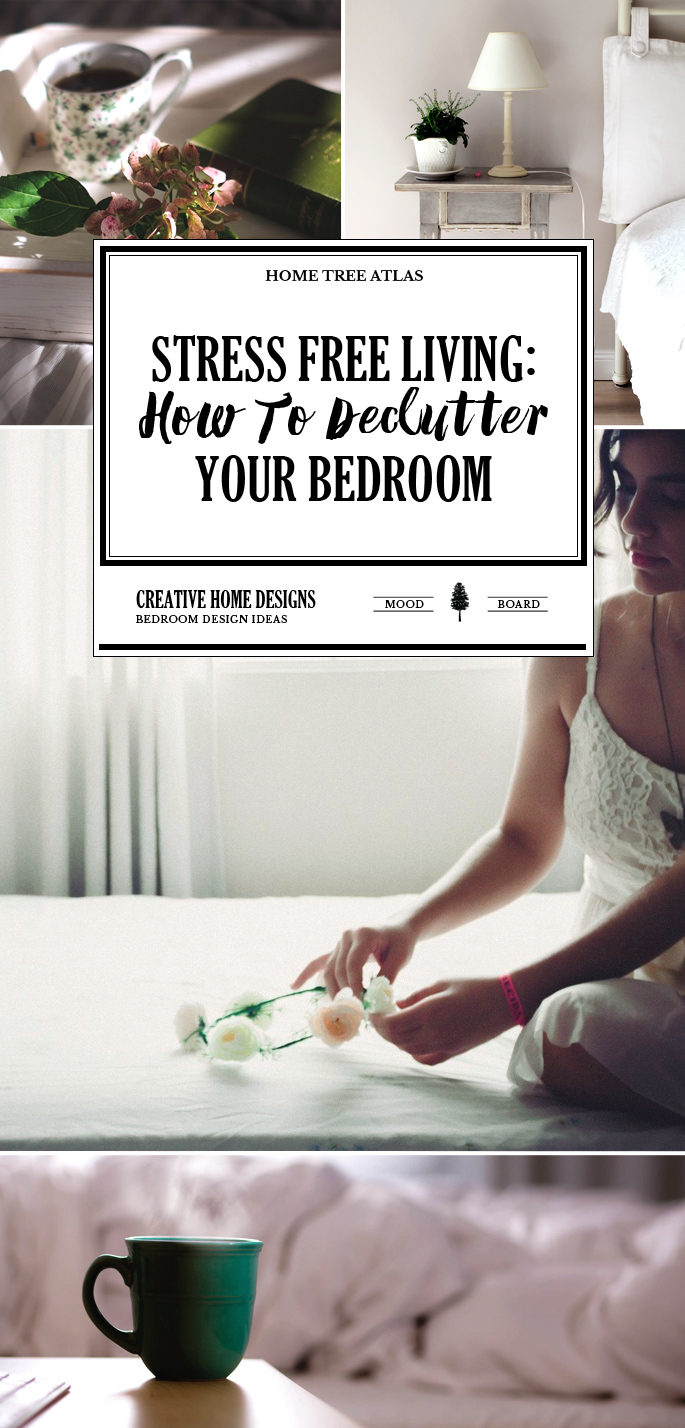
Stress Free Living: How To Declutter Your Bedroom

Stress Free Living: How To Declutter Your Bedroom

Imagine checking into a hotel room and how relaxing it can be. You only brought what you need. The hotel room is tidy, relaxing, and clutter free. Creating this feeling in your own bedroom isn’t that hard. In this post I’ll show you the 4 checklist steps on how to organize your bedroom to declutter and create a relaxing space.

Step 1: Identify the Clutter Areas

Clutter piles up in certain areas. The first step to declutter your bedroom it is to take a look around the room and see where the problem areas are.

Some areas to watch out for include:

  • Bedside tables
  • Dressing tables (makeup, jewellry, etc.)
  • Ontop of counters
  • Inside closets
  • Inside drawers

Step 2: Pick Which Way you Want to Declutter

A) Bit by Bit: Pick one area and tackle that area for the day. A draw, or say the bedside table. This decluttering method works slowly, but is ideal if you are limited on time. The upside is that you accomplish decluttering one area, instead of trying to tackle the whole room and not really decluttering any one area. You slowly build momentum.

B) All in One: Grab some boxes, and chuck everything (or almost everything) in the boxes and put these boxes in another room. This way you get the decluttered feeling straight away. You’ll then go through and sort through the boxes outside of the bedroom when you have time.

C) Trash It: Grab trash bags, and storage boxes and take the day to completely go through everything and either trash it, store it, or find a place for it in the bedroom. Make it a goal of doing it in one day. Otherwise it might just drag on and never get done. Be ruthless in throwing things out, and once you build momentum you’ll be able to work faster and faster. Don’t stop and think too much on one item, keep moving forward.

Step 3: Clutter Busters

To beat clutter, you’ll need to find a way to keep things a bit more organized. The key here is to make it as easy as possible for you to keep things tidy.

The easiest way to do this is by having ‘clutter bowls’. These are decorative bowls placed in clutter prone areas. Have one by the bedside or on the dresser to hold your keys, wallet, phone, coins, etc.


These bowls group together clutter items, making for a cleaner and tidy space. It is a quick fix. The same can be done in drawers and on shelves.

There are more sophisticated organisation and declutter options than the ‘clutter’ bowls, but the bowls are the fastest and easiest way to go.

Drawers

Drawers are where things go to get lost. They get buried, and pushed to the back. Horrible places. You should never really have just one big draw open like that if you want to store a number of items in them. Instead have drawer dividers. This helps group things together, creates an isolated space for items, and prevents things from getting mixed up.

Shelves

The same thing for drawers can be said for shelves. If you are storing a number of items on a shelf, and they get moved around a lot, then you’ll want to have shelf dividers to keep things inline.

For specific ideas on organizing your closet, have a look at my post here:

For shoes, have a look here:

And for storage ideas around the bedroom have a look at my post here:

Get Rid of Visual Clutter

Clutter usually comes in the small form. Bits and pieces here and there. But I think there is also visual clutter that needs to be taken of, which helps greatly in creating a relaxing space.

For example, imagine if your closet didn’t have doors and you could see everything inside of it from your bed. I’d rather have curtains put up so it is hidden away.

If you have gym equipment, or something like a home office – try and hide it away by hanging up a curtain or build a DIY room divider (Ideas Mood Board: DIY Room Divider).

Try and keep your bedroom visually clutter free.  Store items in decorative storage containers such as wicker baskets, wire baskets, galvanized containers, etc.


Step 4: Build on That Clutter Free Feeling

Now that you have a more relaxing bedroom space, you’ll want to keep it that way. One way to do this is to buy premium statement pieces for your bedroom. Spending a little money on some premium and luxury items will make you want to take care of your room, and make sure that you keep it tidy and clutter free.

Since the bed is the biggest piece in the bedroom, making it the focal point, I’d say buy some premium bedding.

Wall art is another area to splurge.

If the bedside table is a problem area, then splurge on an art/decor piece that can be placed on the table. Same goes for any countertops. Replace the clutter with premium, highly loved decor pieces.

More bedroom posts that you might like:

February 23, 2016 in Bedroom

7 Friendly Kids Room Storage Ideas

7 Friendly Kids Room Storage Ideas

Remember to keep storage furniture and containers low down to the ground in a kids room. And also use simple storage containers, ones without lids are best. Keeping things low and simple, makes it easy for kids to store away their own items, and makes it easy for them to get things when they need them. Here are some simple kids room storage ideas that do just that.

7 Friendly Kids Room Storage Ideas: #1 Making it look good
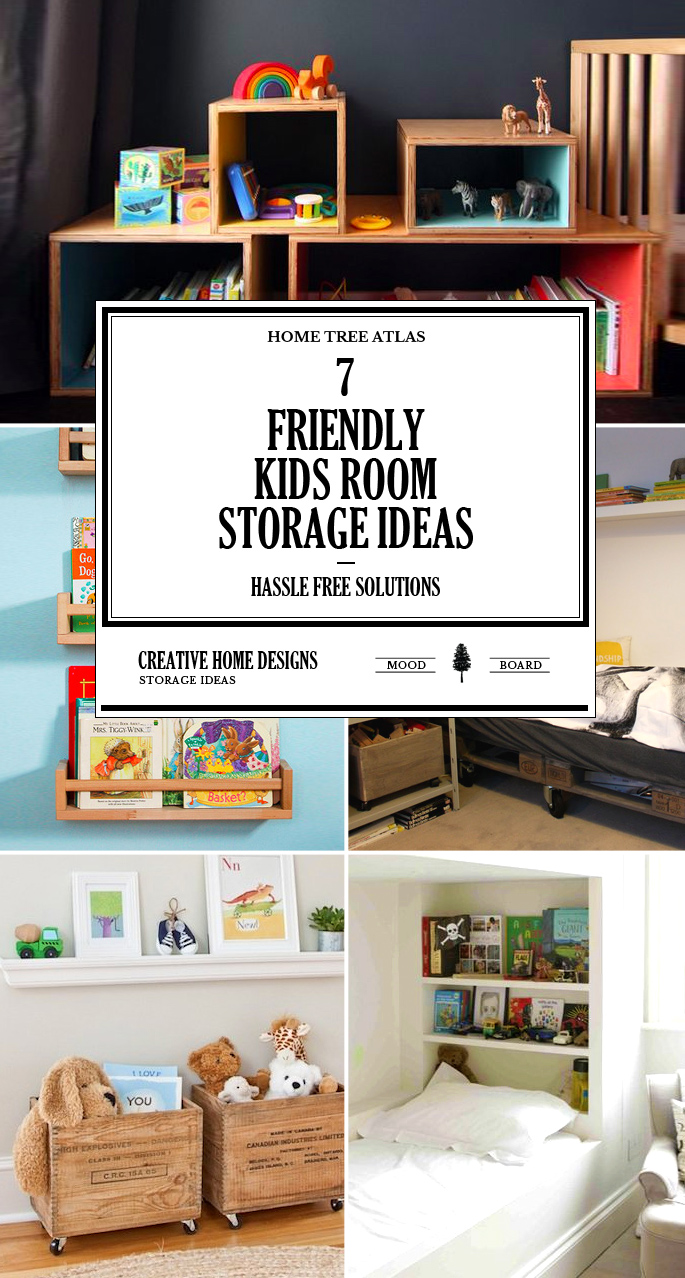
1. Making It Look Good: Wooden crates look good, and are pretty versatile when it comes to storing things around a kid’s bedroom. Put them on wheels and they’ll be easy to move around (Apartment Therapy).

In my toy storage post, I talk about making storing fun. Use old vintage suitcases, or paint wooden crates to create a theme (for a boys room have a red painted crate with “Fire Department” in black, or a white crate with “NASA” in Blue. A girls room could have a pink princess crate, or a blue mermaid one).

*

7 Friendly Kids Room Storage Ideas: #2 Pops of color

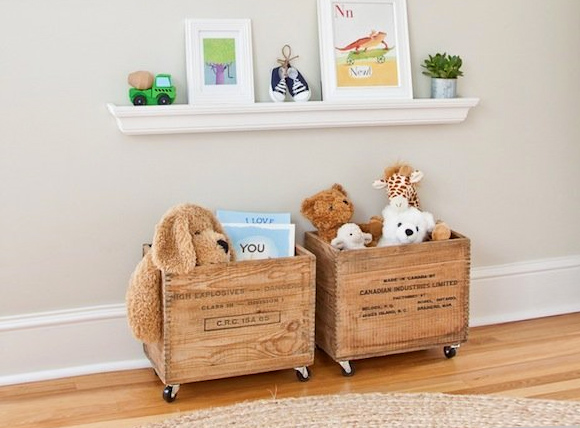
2. Pops of Color: Check out the DIY plywood cubbie shelf in the picture above (Cherezbey), painted in different colors for a fun look. When it comes to cubbies, you want to have the shelves low to the ground – so kids can store things away easily and get items when they want them.

*

7 Friendly Kids Room Storage Ideas: #3 What's under the bed?

7 Friendly Kids Room Storage Ideas: #3 What's under the bed?

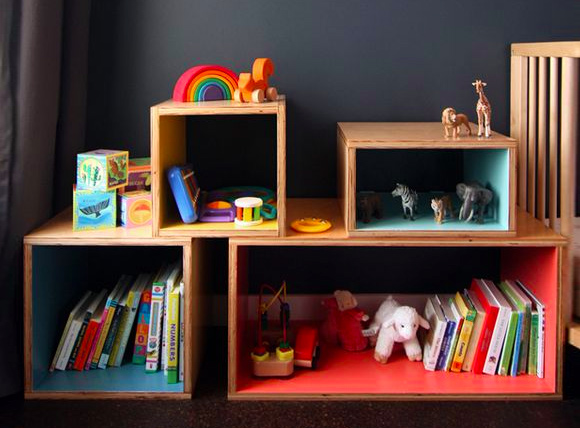
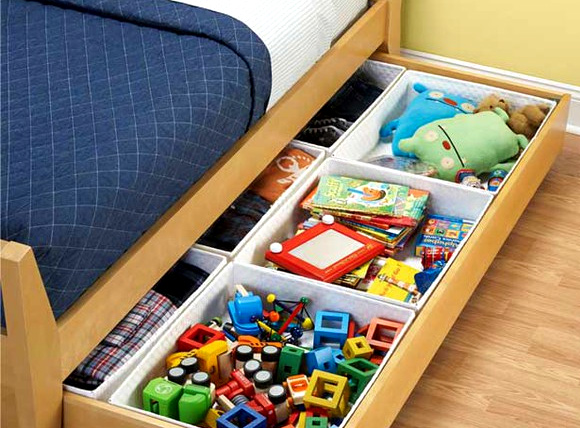
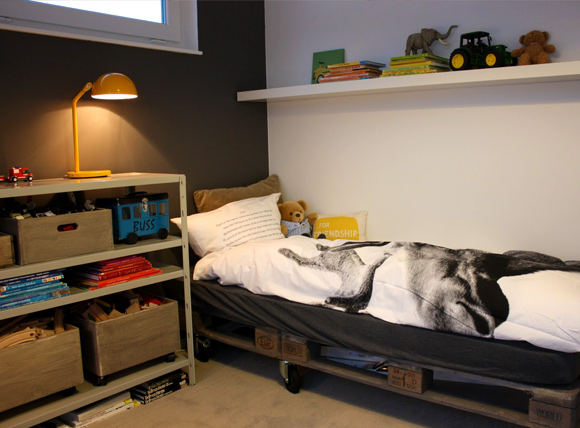
3. What’s Under the Bed? The space under the bed is a great storage space in a kids room. You can use sliding containers (IKEA). Or you can even build a DIY kids bedwith non-toxic pallets that has storage under it (Hviit). A way to create a lot of space under the bed is to use a loft bunk bed, so a desk can fit under it (Bunk Bed Ideas for an Awesome Kids Room).

*

7 Friendly Kids Room Storage Ideas: #4 A bed shelf

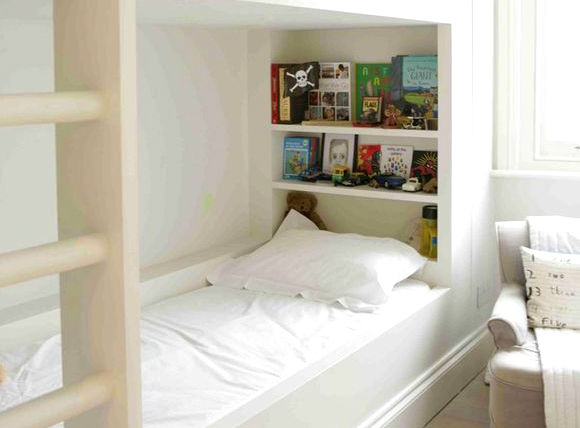
4. A Bed Shelf: Having a shelf close by to the bed lets a toddler or a child keep toys, books or a light close by (Remodelista).

*

7 Friendly Kids Room Storage Ideas: #5 Door storage

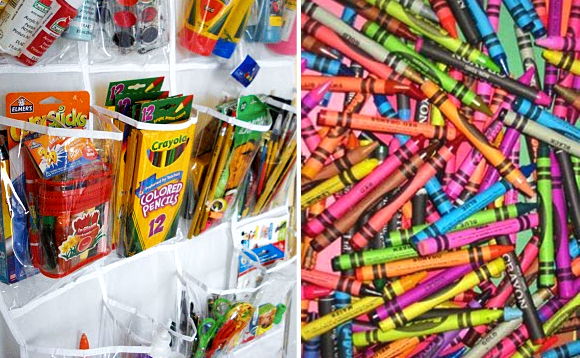
5. Making Use of Doors: The back of doors can be used for different kids storage ideas. You can get over the door organziers (get one here) that can fit over the bedroom door or over closet doors – Hello Little One. Hooks and railings can be fitted to the inside of closet doors for hidden storage.

*

7 Friendly Kids Room Storage Ideas: #6 Large containers

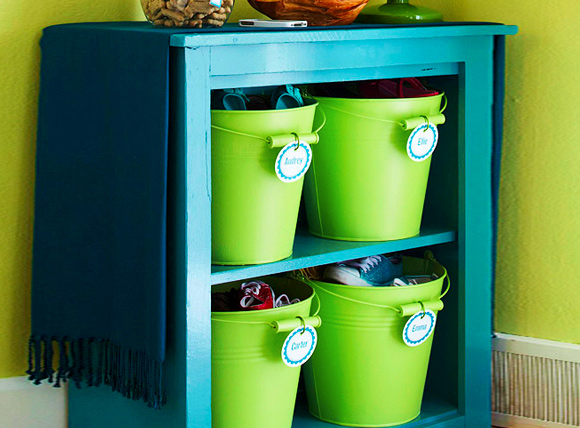
6. Large Containers: Using large containers, without lids, helps make it easy for toys and items to be stored away in a kids room. Use plastic bins, metal buckets, a chest, or wicker baskets – all of these can be painted over to create a more playful look (BHG).

*

7 Friendly Kids Room Storage Ideas: #7 Book storage

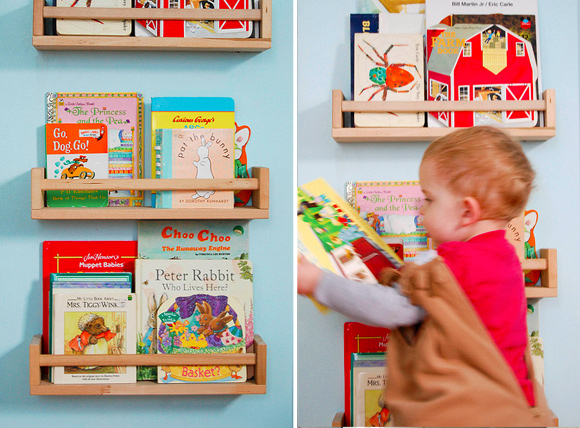
7. Keep Those Books Open: Simple wall storage brackets can be used to store and display reading books – letting kids grab a book whenever they want – seen on Domestic Simplicity and available from IKEA.

More kids mood board posts:

February 18, 2016 in Bedroom, Kids, Storage

15 Ideas and Secrets For Making DIY Wooden Headboards Look Expensive

15 Ideas and Secrets For Making DIY Wooden Headboards Look Expensive

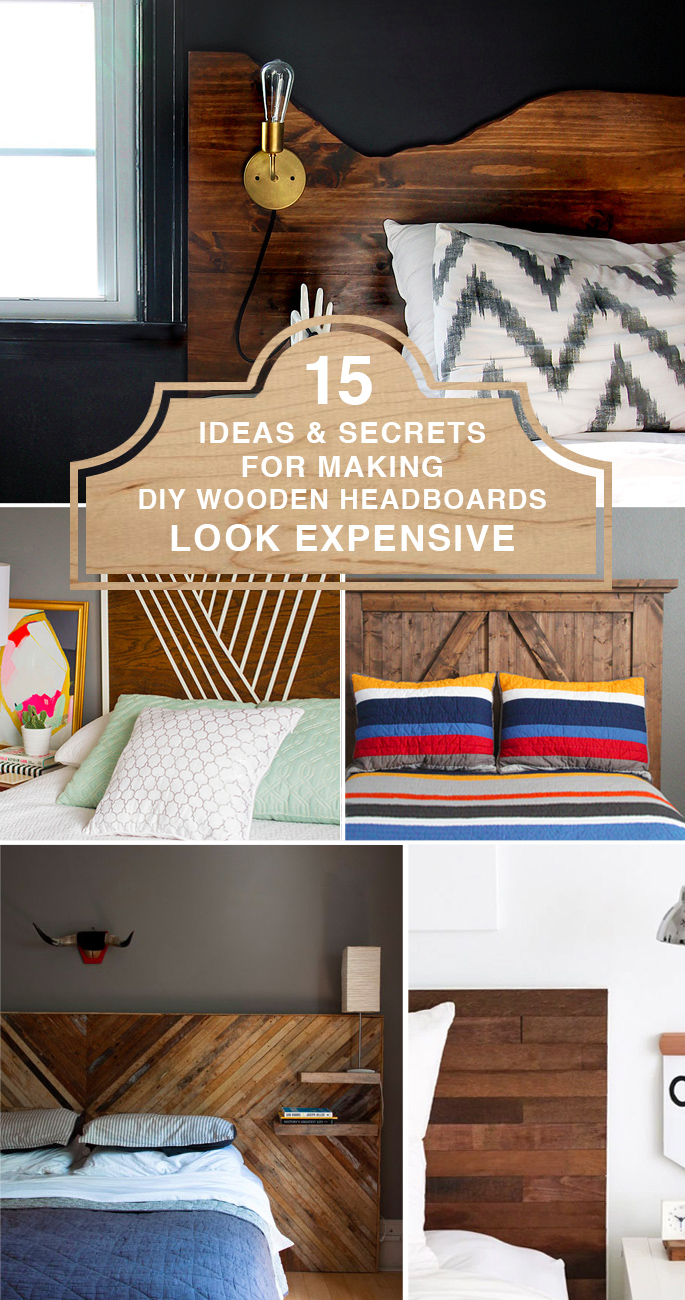
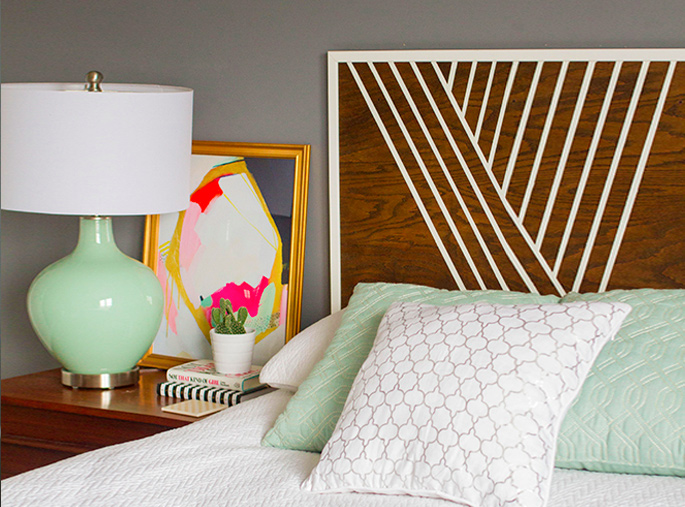
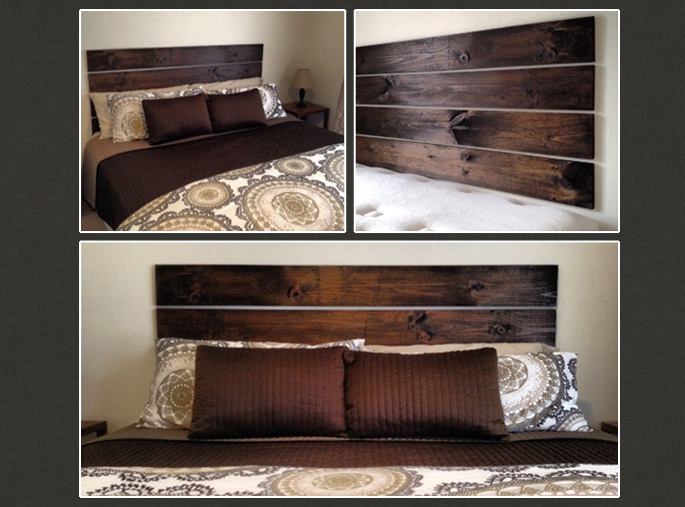
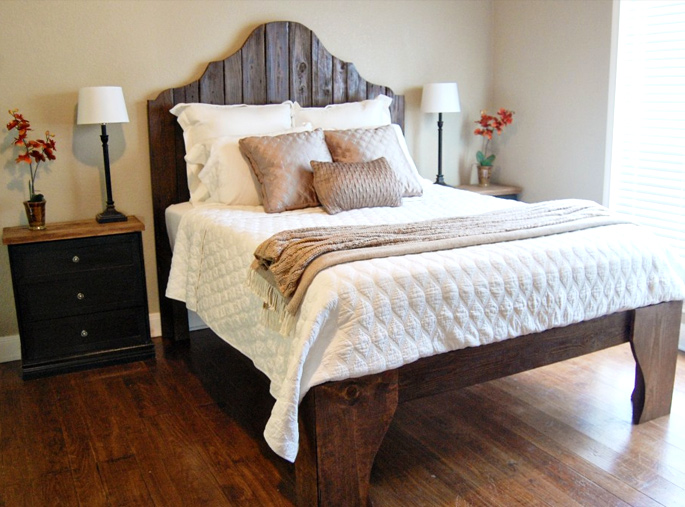
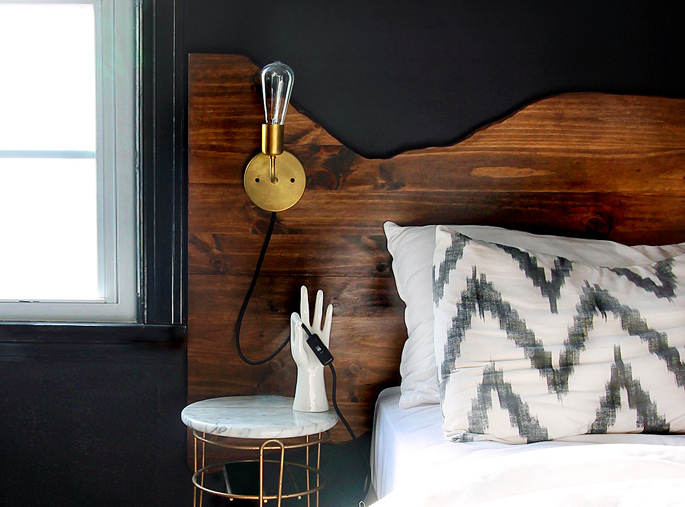
Using wood is one of the simplest ways of building a DIY headboard. Below I go over all of the different techniques and creative ways to create a stylish, store bought looking DIY wooden headboard.

Avoid The Biggest Mistake – Finish With Style

A lot of people build a very flat rectangle wooden headboard, which tends to end up looking a little bit unfinished.

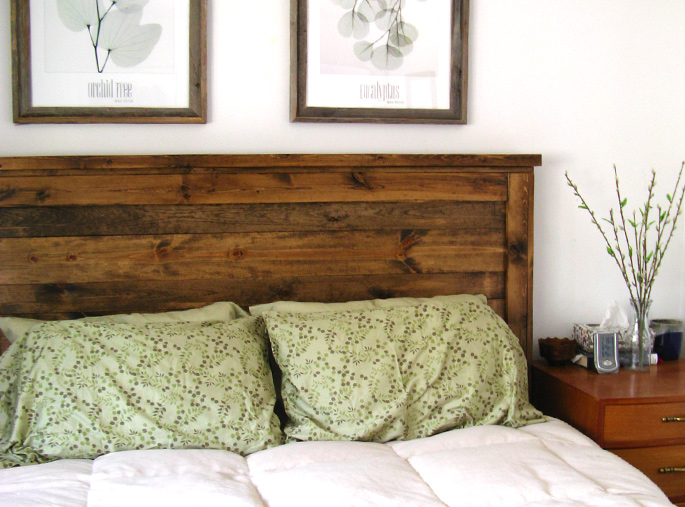
1. Finish With Style #1: Creating a border

15 Ideas and Secrets For Making DIY Wooden Headboards Look Expensive #1: Finish With Style - Creating a border

One way to avoid the ‘flat look’ is to add a border around the headboard. Ana White built a rustic reclaimed wooden headboard and finishes it off with a simple border – her tutorial includes plans on how to make it.

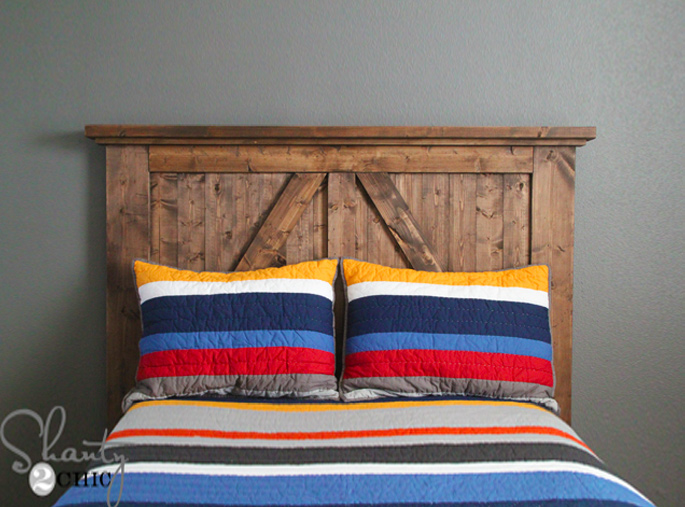
2. Finish With Style #2: Trim pieces

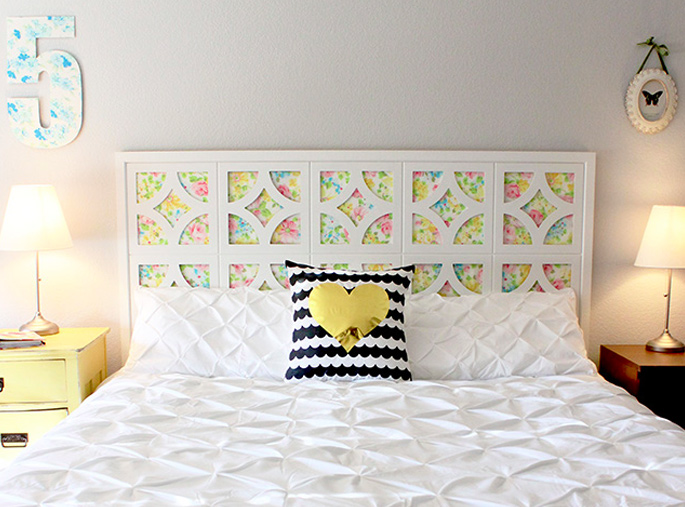
15 Ideas and Secrets For Making DIY Wooden Headboards Look Expensive #2: Finish With Style - Trim Pieces

Or how about adding some trim pieces to create different decorative shapes within the headboard – by Shanty 2 Chic

3. Finish With Style #3: Decorative painting

15 Ideas and Secrets For Making DIY Wooden Headboards Look Expensive #3: Finish With Style - Decorative Painting

Another way to break up a flat rectangle headboard is to add some shapes to it with paint – the tutorial for the vintage looking headboard above can be found here.

4. Finish With Style #4: Creating gaps

15 Ideas and Secrets For Making DIY Wooden Headboards Look Expensive #4: Finish With Style - Creating Gaps

Even separating boards can create some depth and make the headboard look more like a store bought one – by Brian Haazard

Shaping Your Headboard

Another way to avoid the flat look is to create a shape

5. Shaping Your Headboard #1: Wooden planks and a jigsaw

15 Ideas and Secrets For Making DIY Wooden Headboards Look Expensive #5: Shapes

DIY using wooden slats and a jigsaw by Remodelaholic

6. Shaping Your Headboard #2: Create a faux live edge headboard

15 Ideas and Secrets For Making DIY Wooden Headboards Look Expensive #6: Faux live edge headboard

Or how about using plywood / pine board to create a faux live edge headboard – made by Hunted Interior

7. Getting Crafty – Seeing a Headboard in Other Objects

15 Ideas and Secrets For Making DIY Wooden Headboards Look Expensive #7: Getting crafty

Wall art frames combined with fabric are used to create a headboard – Happiness is Homemade

8. Upgrading an IKEA Bed

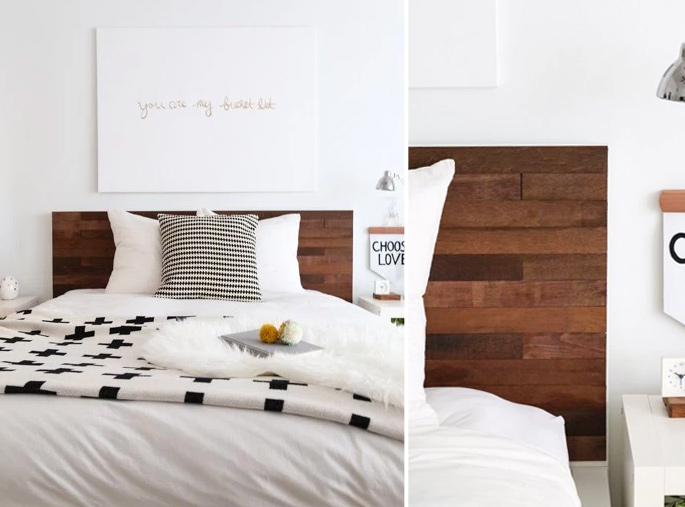
15 Ideas and Secrets For Making DIY Wooden Headboards Look Expensive #8: Upgrading a bed

This IKEA bed and headboard gets an upgrade with stick on wooden strips – by Sugar and Cloth

9. Upcycling and Refinishing an Old Headboard

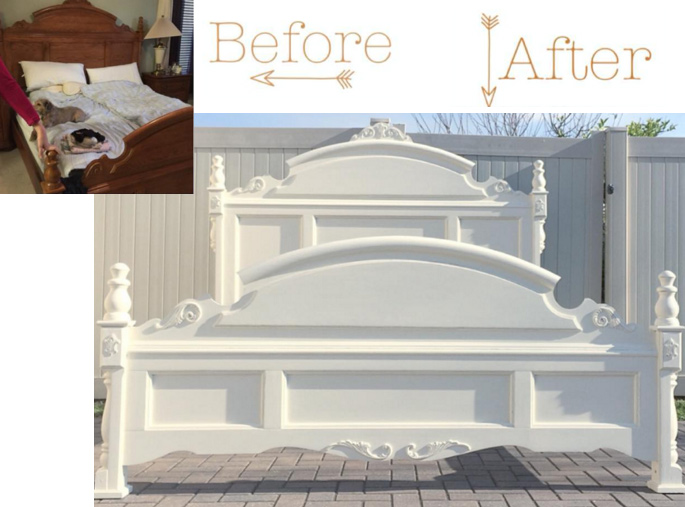
15 Ideas and Secrets For Making DIY Wooden Headboards Look Expensive #9: Upcycling and Refinishing

A very easy way to DIY a wooden headboard is to use an old one, and give it new life. Your old one or a thrifted headboard can be painted for a new style – Doss Decor

10. The Headboard Conversion

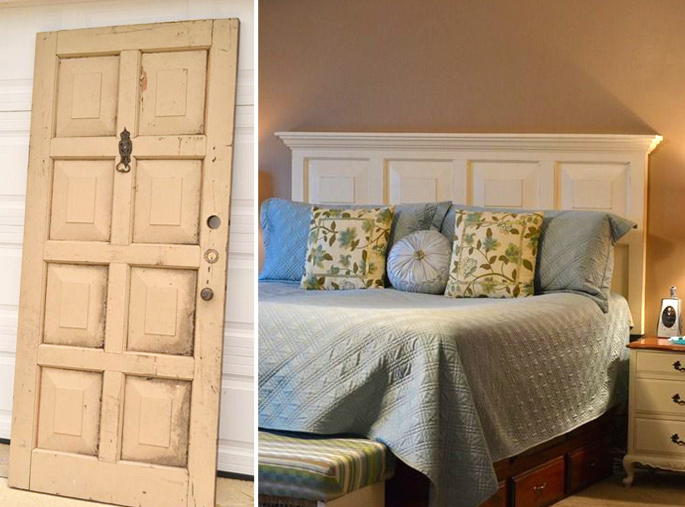
15 Ideas and Secrets For Making DIY Wooden Headboards Look Expensive #10: The conversion

An old door can be transformed into a stylish headboard – Infarrantly Creative

Inspiration Corner

Here are a few very stylish wooden headboard ideas that don’t have any DIY instructions – but are pretty straight forward to make.

11. Creating a Pattern

15 Ideas and Secrets For Making DIY Wooden Headboards Look Expensive #11: Creating a pattern

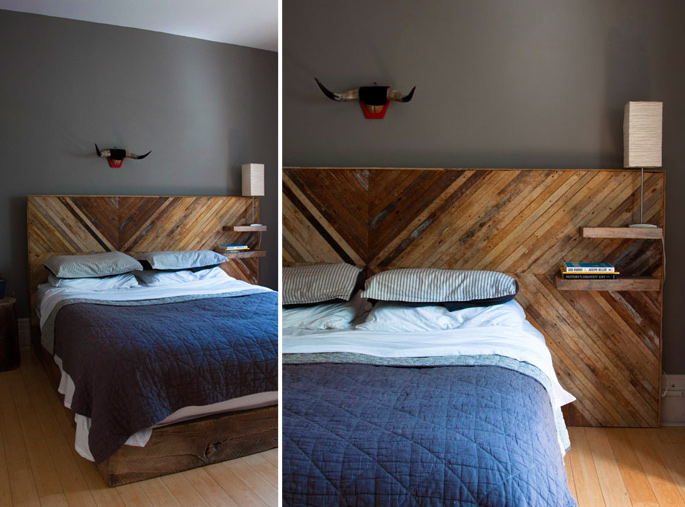
Reclaimed wood, barn wood, or stained pallets, can be arranged into a a designer pattern to form a stylish headboard – Design Sponge

12. Using an Old Window

15 Ideas and Secrets For Making DIY Wooden Headboards Look Expensive #12: Using an old window

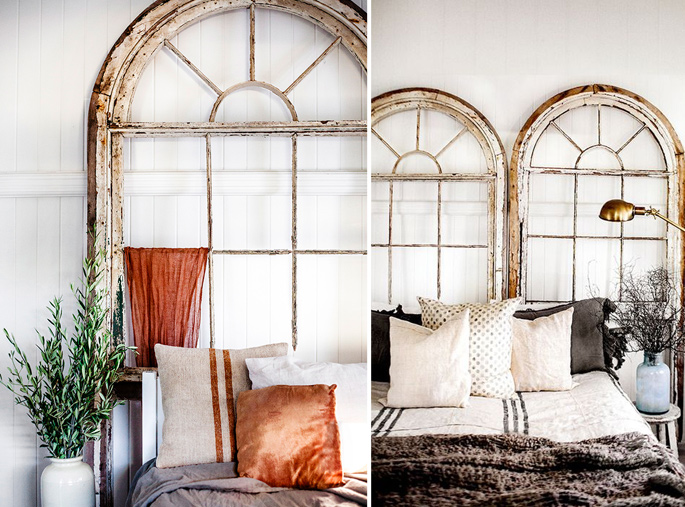
An old window gets transformed into a large vintage headboard – Kara Rosenlund

13. Canvas Art

15 Ideas and Secrets For Making DIY Wooden Headboards Look Expensive #13: Canvas art

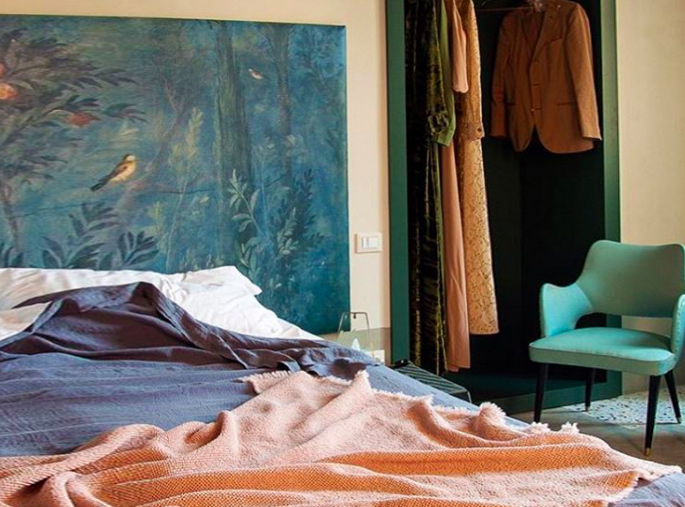
Canvas art can be mounted onto plywood, and fitted behind the bed to create an artistic headboard – Soldier Sailor

14. Decorative Wooden Blocks

15 Ideas and Secrets For Making DIY Wooden Headboards Look Expensive #14: Wooden blocks

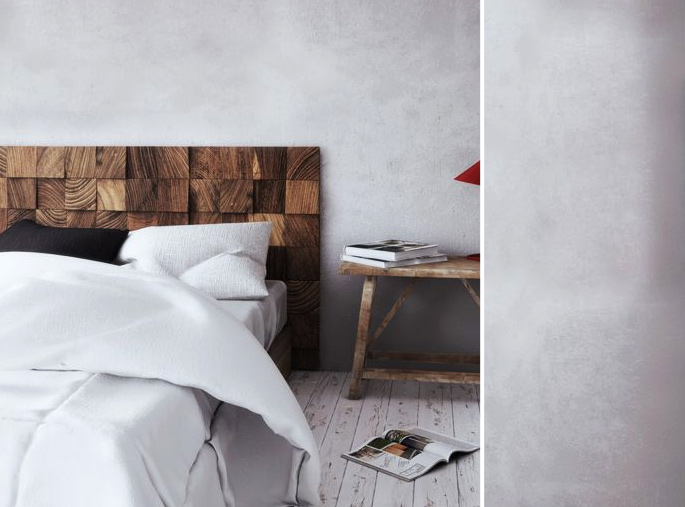
This is the one DIY project I’m eyeing up to do

15. A Wooden Carving Headboard

15 Ideas and Secrets For Making DIY Wooden Headboards Look Expensive #15: Wood carving

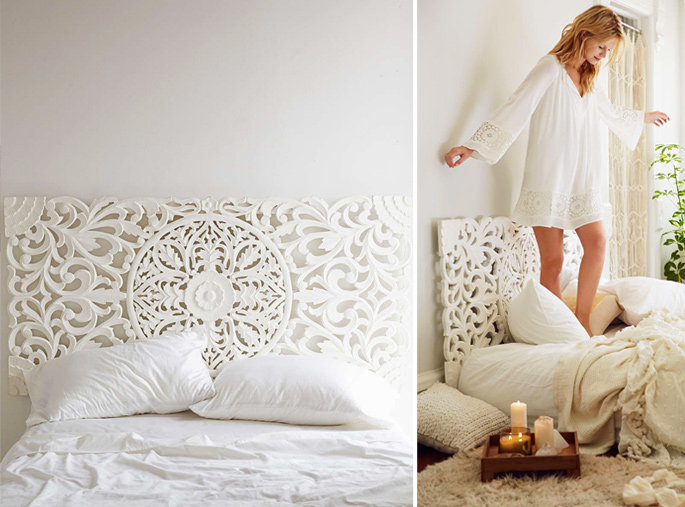
A wooden carving makes for a decorative headboard design – which can be painted to match the color palette of your bedroom. This would be an interesting DIY to watch, but until then it can be bought over at Urban Outfitters.

More Furniture DIY Posts:

February 15, 2016 in Bedroom

Rustic Bedroom Ideas and Furniture Designs

Rustic Bedroom Ideas and Furniture

You don’t need much to create a rustic bedroom style. If you have exposed beams, then you are all set. But there are some other rustic bedroom ideas that can help transform your space – from simple decorating ideas, the materials you use, to how you style your bed.

Materials

The best and really only way to create a rustic bedroom, is to use as much natural materials as possible. Materials such as reclaimed wood, metals (iron, brass), stone, leather, and concrete. Use these materials when it comes to choosing rustic bedroom furniture such as the bed, use them for the walls, and the ceiling.

Color Scheme

Because of the use of natural materials, the color scheme you’d expect in a rustic bedroom would be of neutral earth tones. There will be dark browns, grey, iron black, white, and add in some green with plants. Avoid bold unnatural colors such as blue, red, and purple. Keep to the neutral and natural shades.

Around the Bed

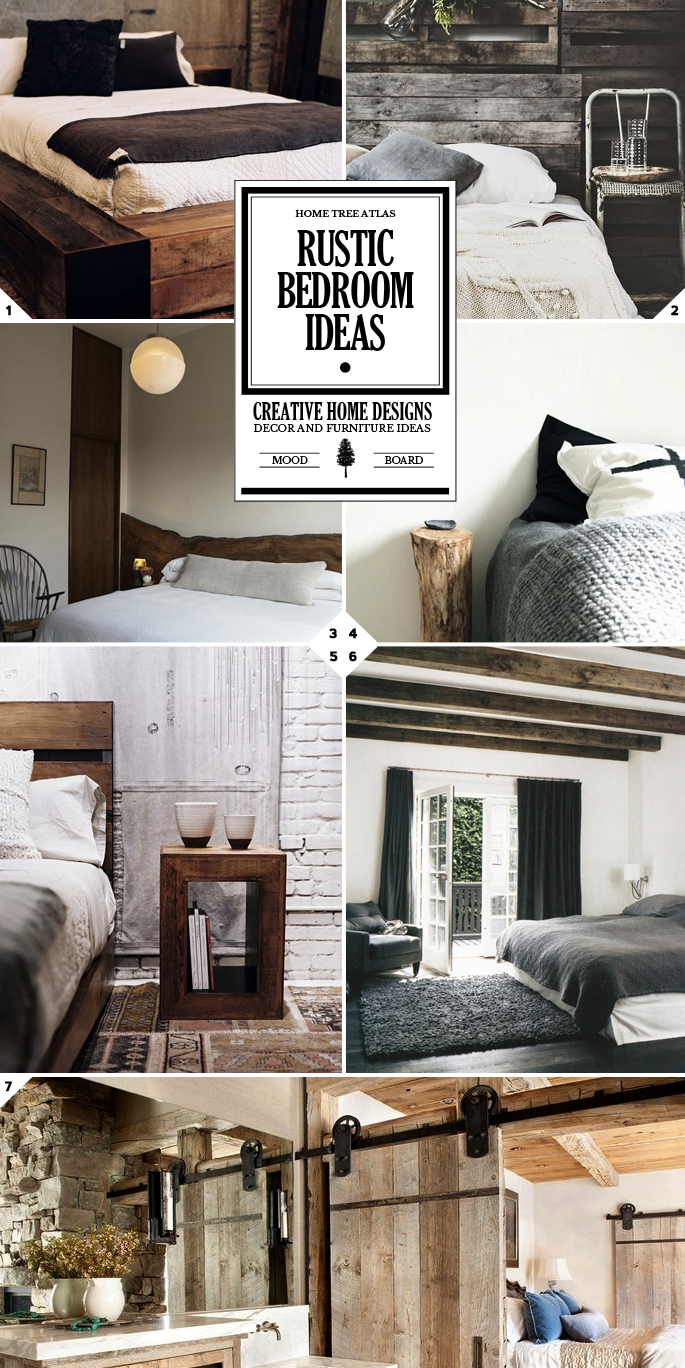
The Bed: When it comes to the bed, use an iron frame or a wooden bed like the one in picture (1). If you can’t get your hands on a bed like this, then just cover the bed frame with simple skirting. A lot of the beds in the mood board above have white fabric covering up the bed.

The Headboard: Ideas here include using reclaimed wood (2), live wood (3), or iron bars. A lot of the beds in the mood board, don’t have a headboard.

Bedding: Because the bed is the main focal point in the room, as it takes so much space, even the bedding you use will play a big role in the style of the room. For the bedding use neutral colors like white, light and dark grey, tan, or black. Use fabrics that have a subtle texture to them to add a touch of style and elegance. Neutral colored and textured bedding fabric is another thing all of the rustic bedrooms in the mood board above have in common.

Side Tables: The side tables you have next to the bed will frame the bed area. Look to have stylised pieces like a log stump table (4), a metal stool, a wooden one, or a trunk.

The Walls and Ceiling

Here are some rustic ideas when it comes to the walls and the ceiling of the bedroom:

  • Exposed brick walls can add a rustic flair to a bedroom. The bricks can be painted over for a more subtle rustic look (5). Another design idea is to have half of the wall (either the top or the bottom) exposed brick, while the other half is plastered over. Have a look at this mood board post for design ideas: Industrial and Rustic Charm: Home Brick Wall Designs.You can easily create your own brick wall by attaching brick slices to an existing wall
  • There is rough Italian style plastering (stucco). Or for a more industrial rustic look, have rough textured concrete walls
  • There are also stone walls, or stone tiles
  • For a more modern look, have plain white walls, and let the rustic pieces in the room (the bed, bedding, side tables, exposed beams) create the style
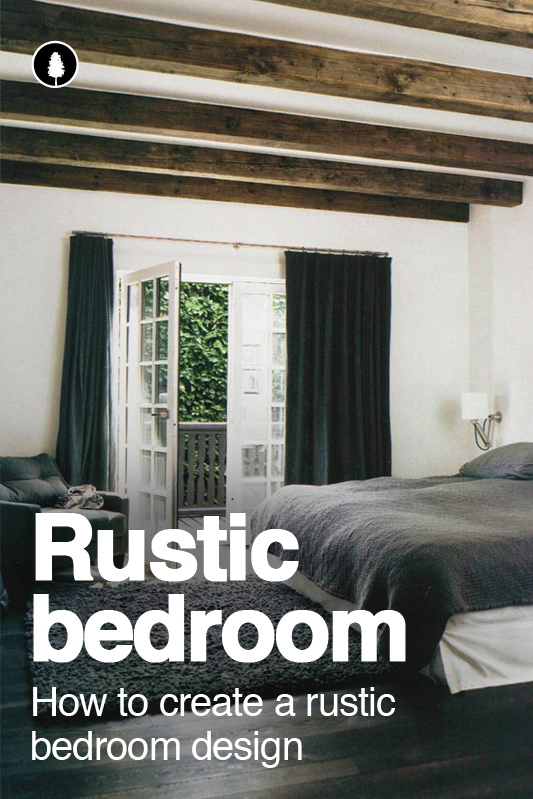
  • A great design feature to have would be exposed beams. Have a look at picture (6). The exposed beams and the hardwood floors are the only things that are needed to create a modern rustic bedroom style. The beams are able to stand out in the room because of the toned down color scheme – just dark greys and white.
  • One last rustic design idea would be to use a sliding barn door as the bedroom door, or going to the bathroom. Kind of like the door in picture (7) but darker.

image credits: 1/2/3/4/5/6/7

More rustic design mood board posts:

Rustic Bedroom Decor Ideas: How to create the look
Related Posts Plugin for WordPress, Blogger...
March 11, 2015 in Bedroom, Design Style