
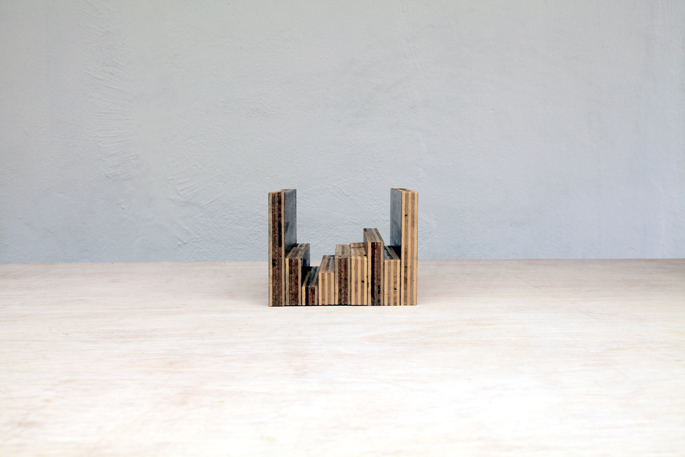
This quick DIY was to practice working with plywood. I grouped together books that have inspired me to build and create, and made a quick display stand for them. The idea for this DIY came from here.

TOOLS
- Jigsaw or Circular Saw
Need a way to cut the plywood to size
MATERIALS AND SUPPLIES
- Plywood
The plywood I used was 1 inch thick. You can use thinner sheets and glue them together to match the width of the different books you’ll be displaying
- A Set of Books
The tops of the books are level – creating a more stylized look. So you need a set of books that you’d want to keep in this display stand.
- Ruler
- Wood Glue
- Clamps
- Polyurethane
This is what I used to finish the plywood, and give it a little gloss
INSTRUCTIONS
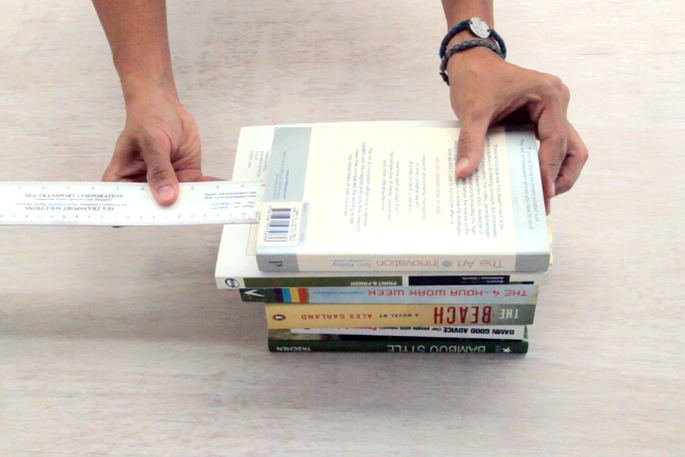
STEP 1: Measure your books
Line up your books so that they are all aligned at the top.
For the 2 end side panels, I wanted them to go high enough to hold up the books. The height I went with was 13cm.
The tallest book will have a 2cm piece of plywood for it’s base.
The top white book I am measuring in the picture below is 3.5cm shorter than the tallest book. I added 2cm and the plywood piece for this white book will be 5.5cm. Next I measured the difference between the other books and the tallest book – and added 2cm to each one. I needed to cut 2 pieces (which will be glued together) for the base of The Beach since it was a really thick book.
You now have a list of the heights for each piece. For the depth, I went with the widest book – which was 18cm, and cut all the pieces the same width.
STEP 2: Cut the plywood
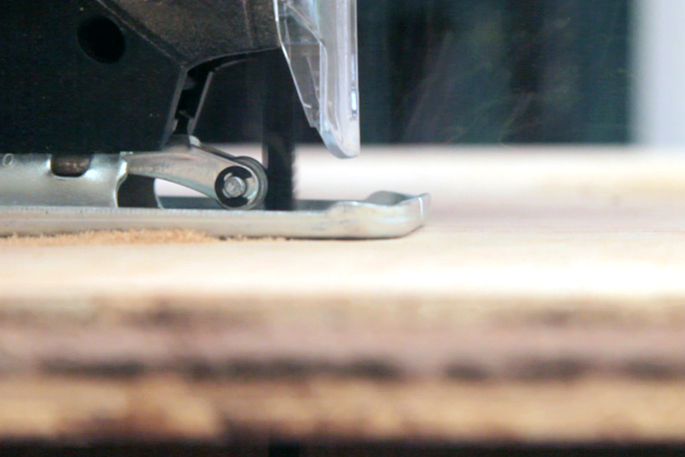
I used a jigsaw to cut the plywood strips

STEP 3: Glue the pieces together
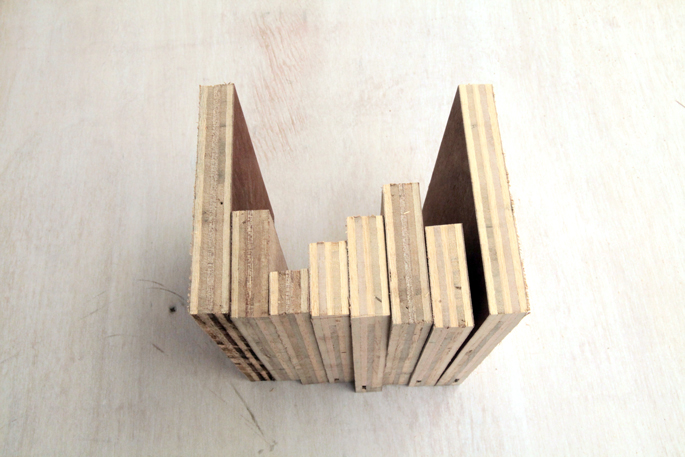
Glue the plywood pieces together using wood glue – making sure it is all aligned in the front and at the bottom.
STEP 4: Clamp the glued plywood
Once the pieces are glued together, you’re going to need to clamp them together to make sure you have a solid bond between the pieces of plywood. I used scrap pieces of plywood to hold up the overhanging part of the book stand. It takes 30 minutes for the glue to dry.

STEP 5: Sanding down the plywood and adding a coat of gloss
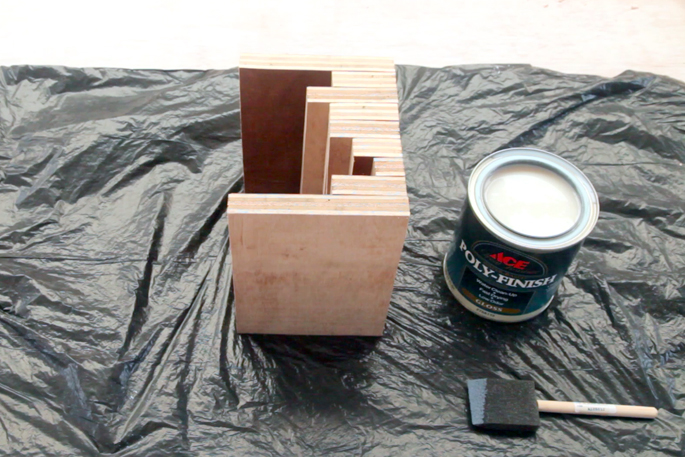
If your cuts, like mine, at not absolutely aligned, take a piece of fine grit sandpaper and sand the pieces of plywood level. Then apply 2 coats of polyurethane to finish off the plywood.

Email me at jacob@hometreeatlas.com with photos if you make your own, or if you have any questions.
For more DIY projects and ideas, visit The Mill @ Home Tree Atlas







Comments are closed.