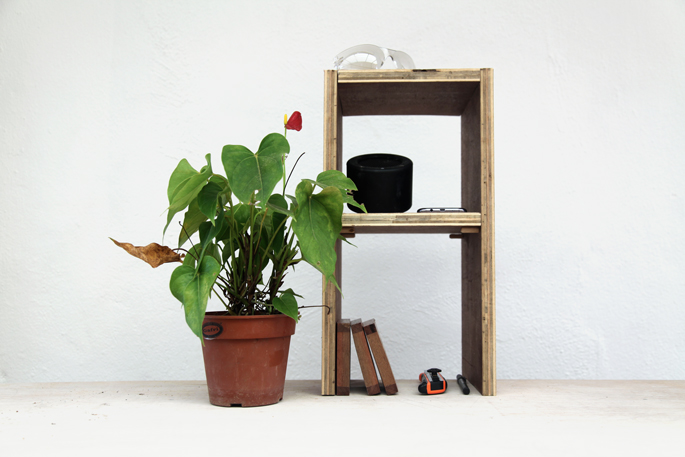
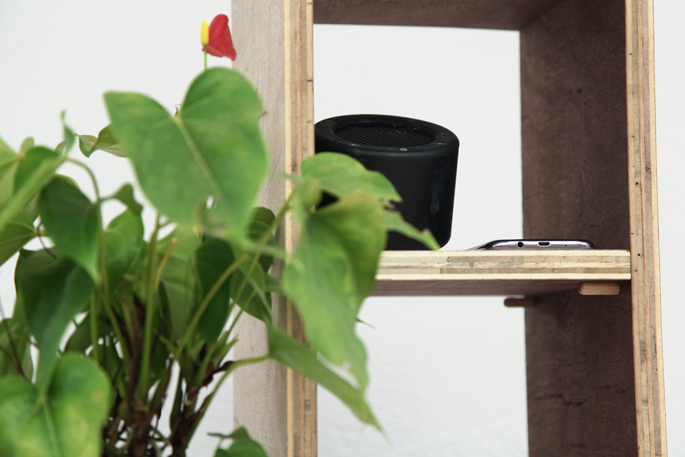
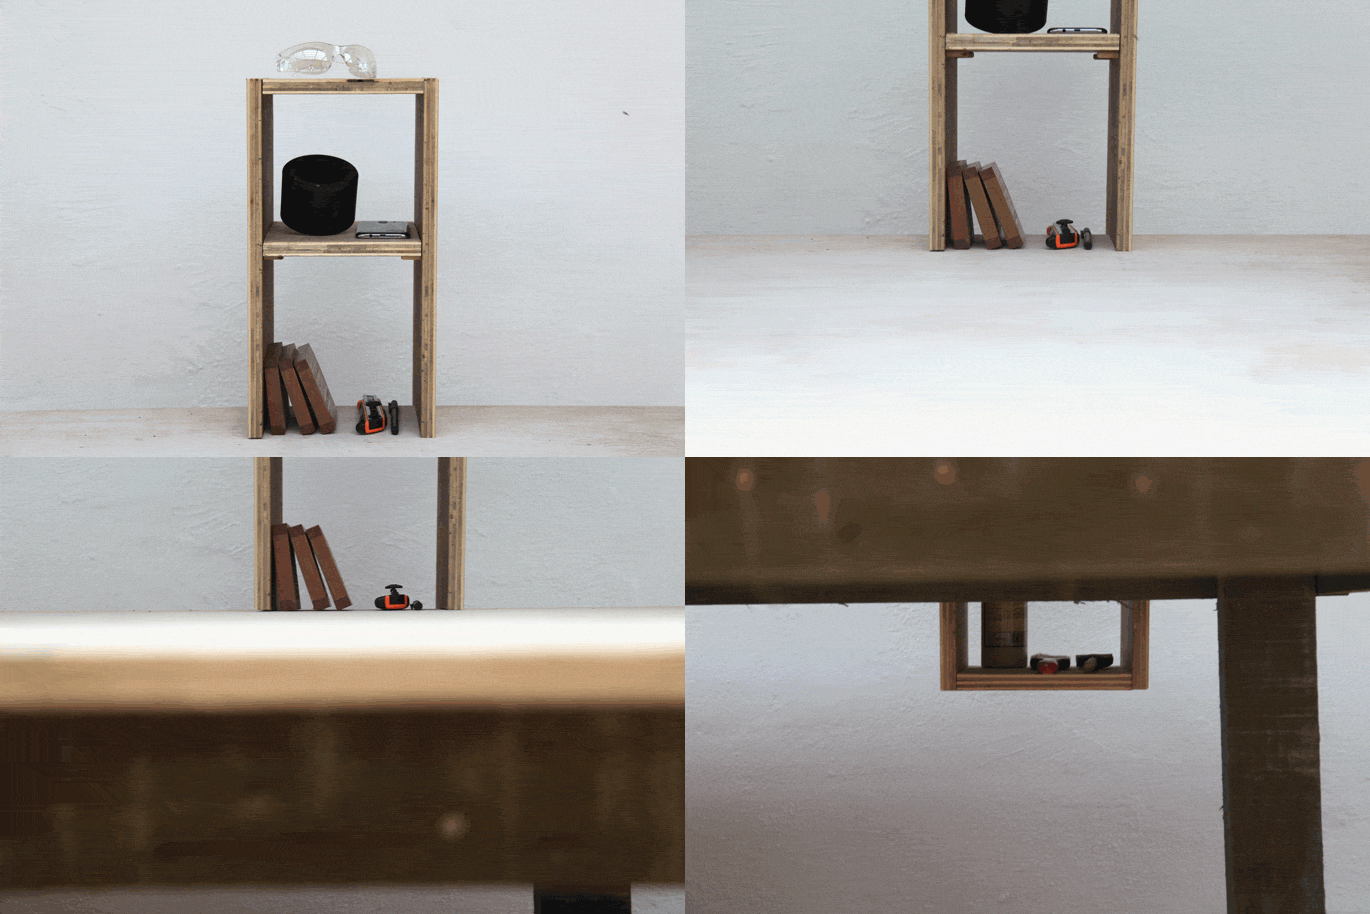
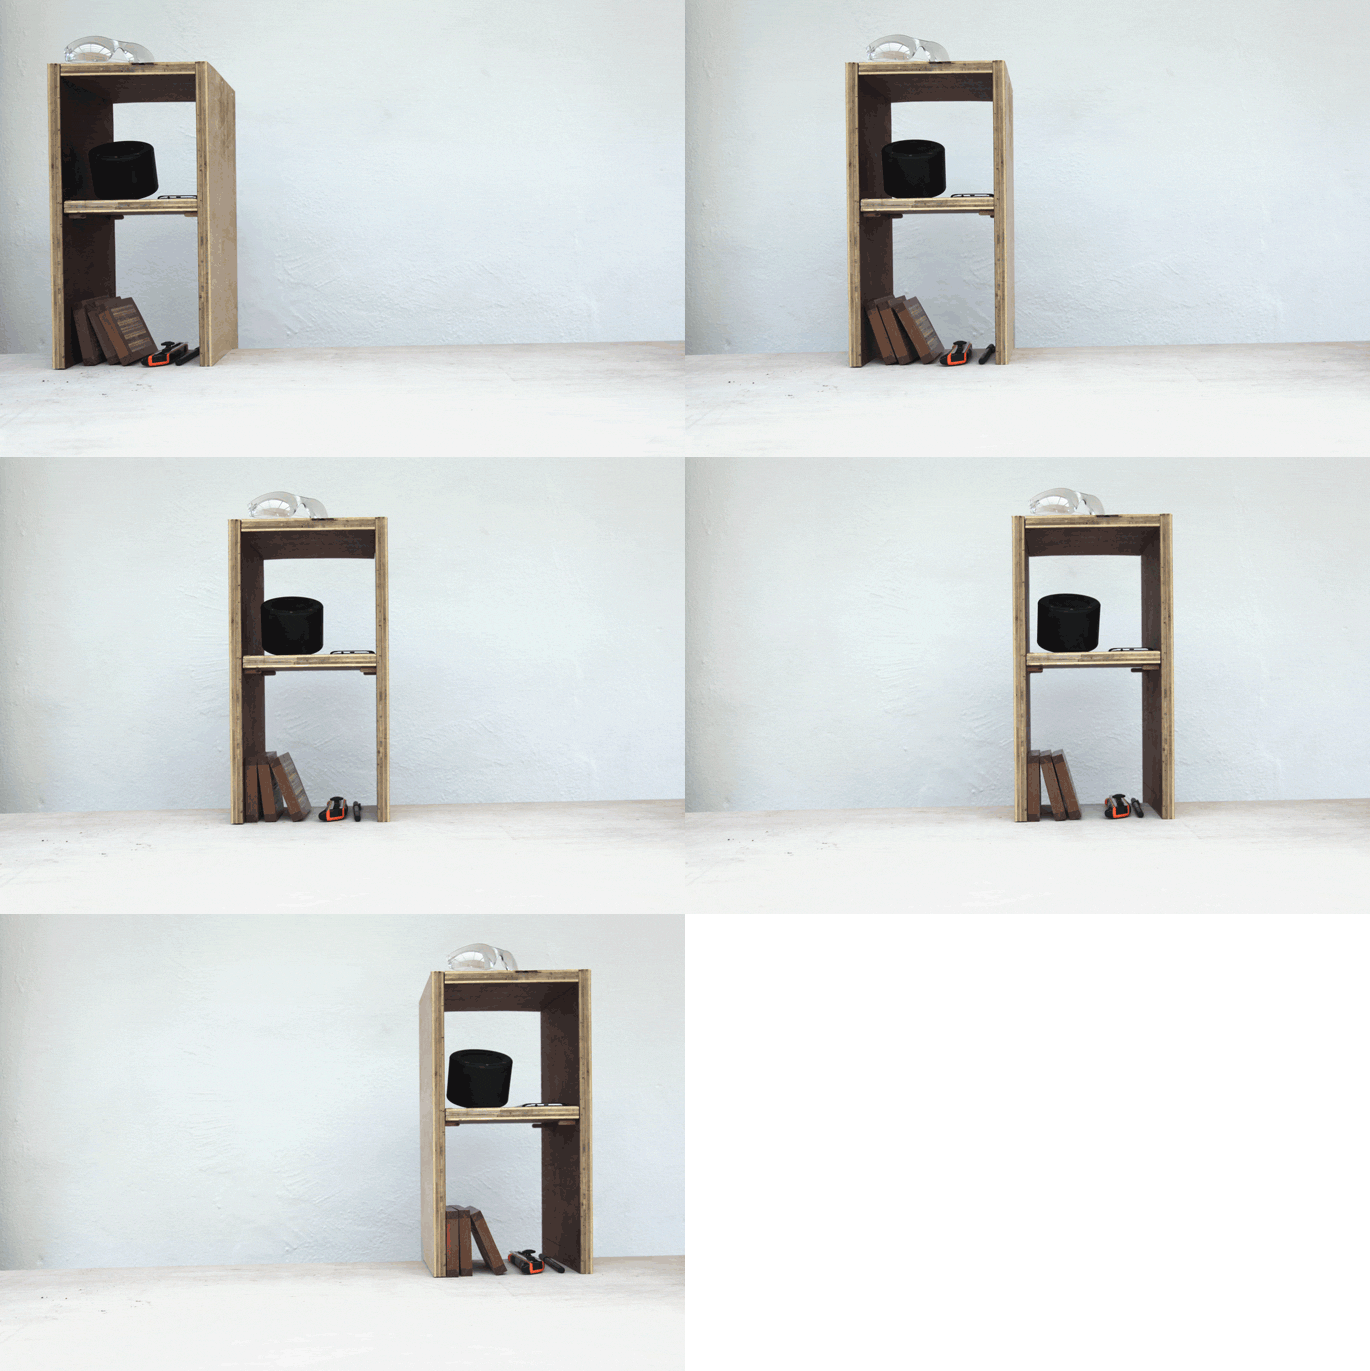
I needed some storage space around my work table, and I couldn’t put up any shelves on the walls. So I figured out a way to build a shelf tower that could slot onto my table. It can be customized to your own storage needs. The one I built here is quite basic. But I have ideas for:
- A Workshop Table Tower with lots of sliding shelves to store screws and side brackets to hold pliers.
- A Desk Table Tower that will have a dowel to hang up headphones, a caddy to store notebooks, and a bracket to store pens.

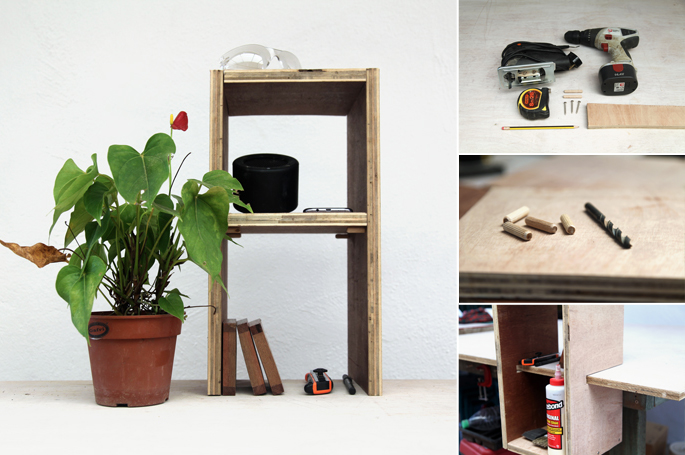
TOOLS
- Jigsaw
This is the only power saw I have, so this is what I used.
- Drill
To cut the inside of the slot, you’ll need a drill and a drill bit the size of the jigsaw’s blade
MATERIALS AND SUPPLIES
- Plywood
I used 3/4 inch plywood
- Screws
1 and 1/2 inch wood screws
- Dowels
These can be bought, but I had a few left over from an IKEA bookcase. You could also use small screws.
INSTRUCTIONS
STEP 1: The height of the tower
The tower I built is 27 inches tall, 8 inches wide (excluding the thickness of the side panels), and 9 inches deep.
So the two side panels need to be marked out: 27 inches tall and 9 inches wide. The 3 panels that fit in-between the side panels are 8 inches by 9 inches.

STEP 2: Cut the plywood
Once the pieces are marked out, cut them all out. For the shelf panel, i just cut the piece slightly skinnier than the top and bottom ones so it can slide into the tower easier.

STEP 3: Measuring the slots
The slots need to be marked out next. I drew a line across both side panels, 8 inches from the bottom.
The thickness of the table I want to put this tower on is 3/4 inch. So I would need to create a slot the same size. I measured 3/4 inches up from the 8 inch mark on both side panels. These slots need to be 7 inches wide.

STEP 4: Cutting the slots
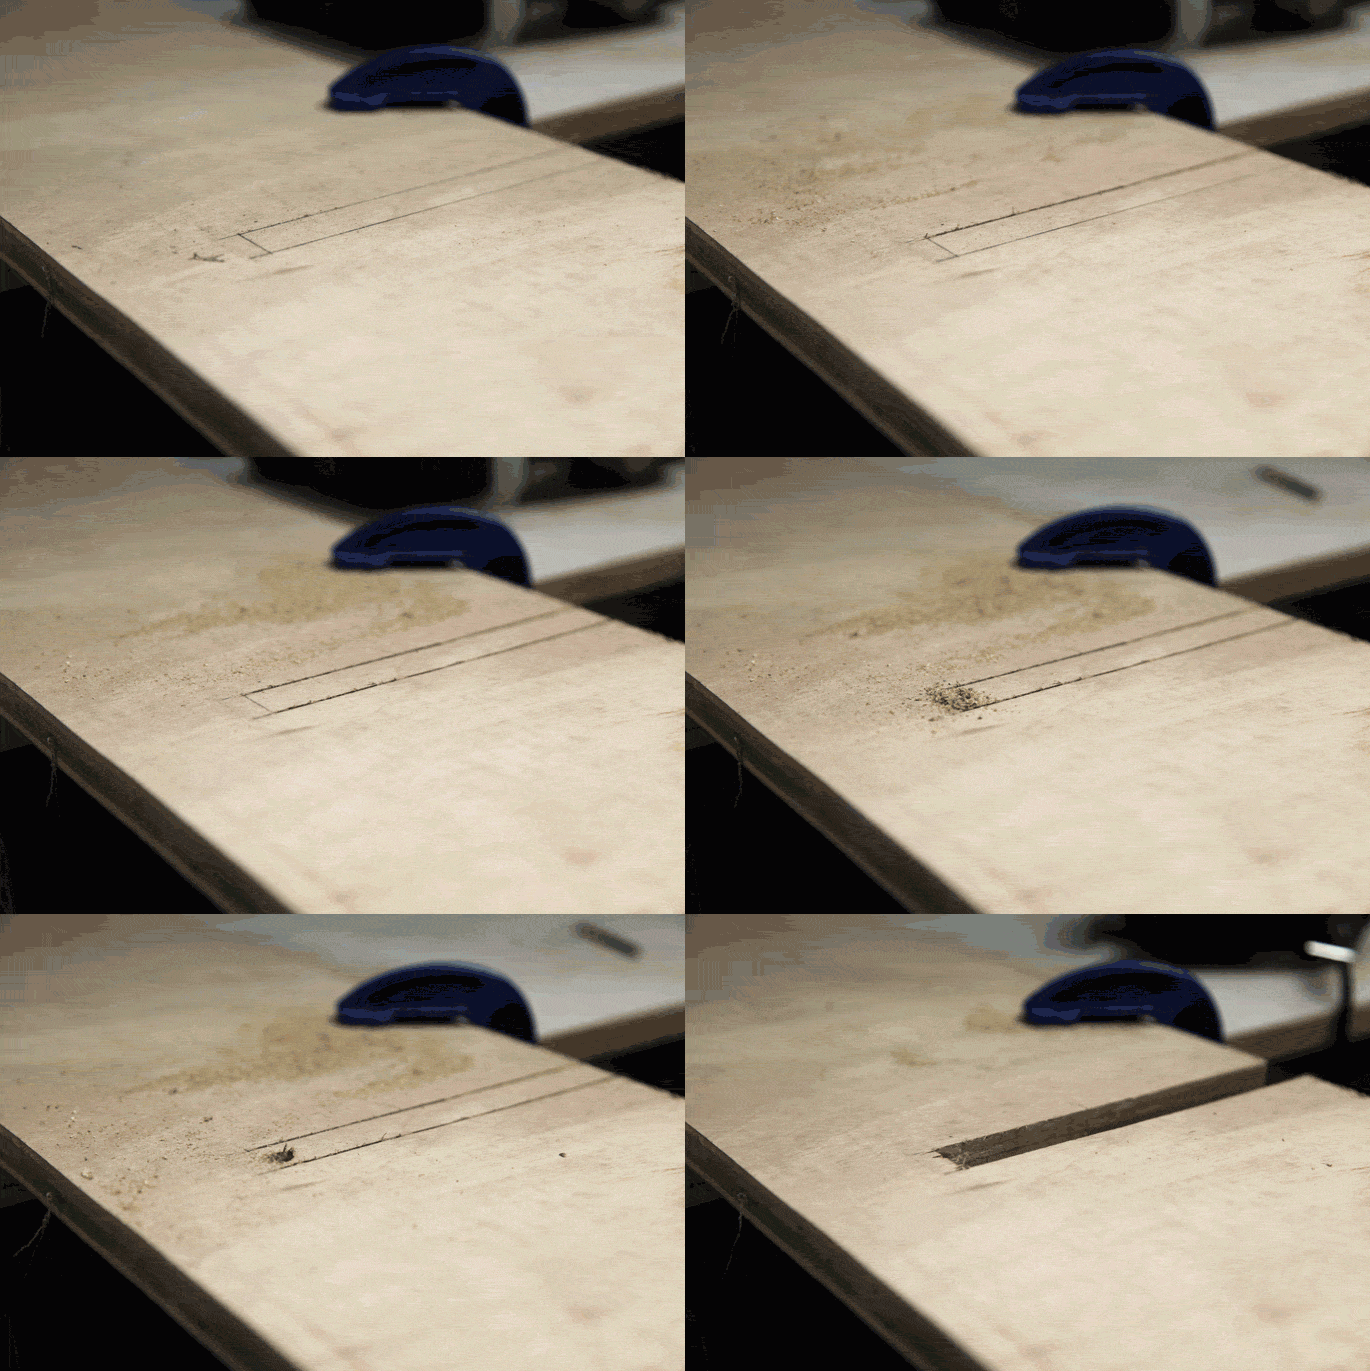
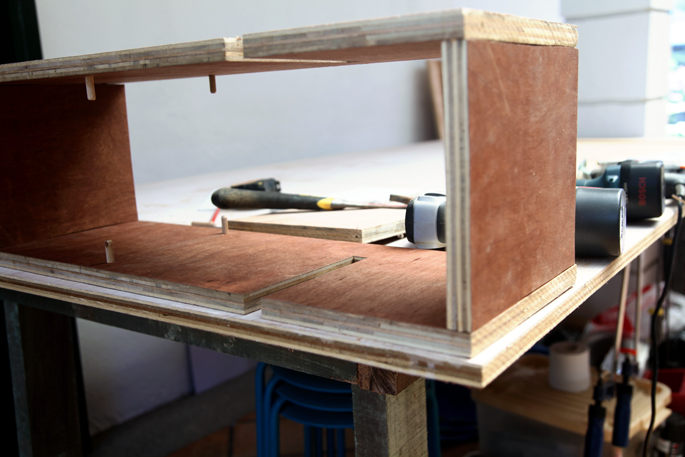
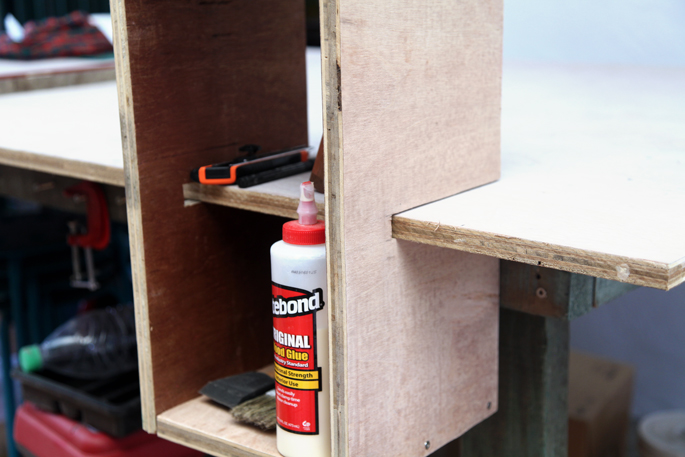
Use the jigsaw to cut into the plywood where the slots are marked out. You’ll then need to use the drill to drill a hole for your jigsaw blade to fit through so you can cut the sideways part of the slot, just like in the pictures below.
STEP 4: Adding the dowels for the shelf
Measuring 9 inches down from the top, 2 holes (the same size as the dowels) were drilled (not all the way though) on each side panel. The dowels were then hammered in. If the holes you drilled are too wide for the dowels, just put in some glue/woodglue.


STEP 5: Assemble the Tower
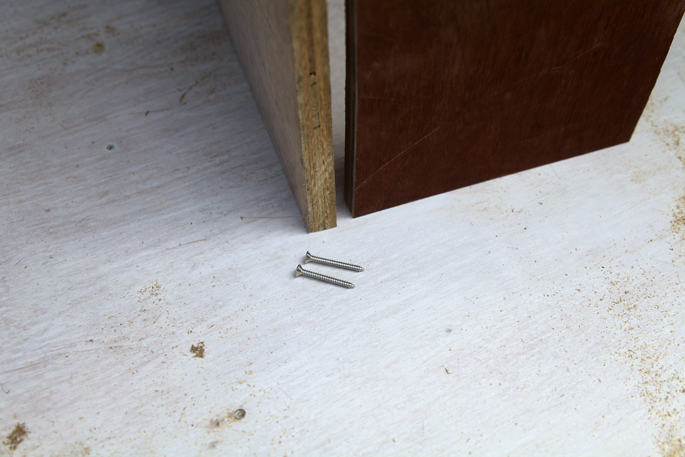
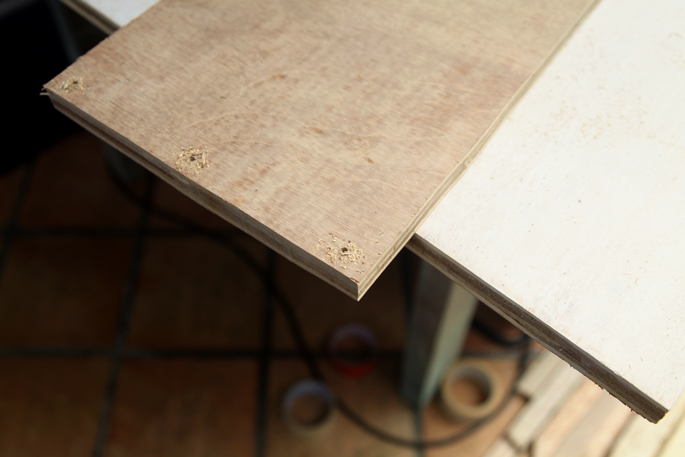
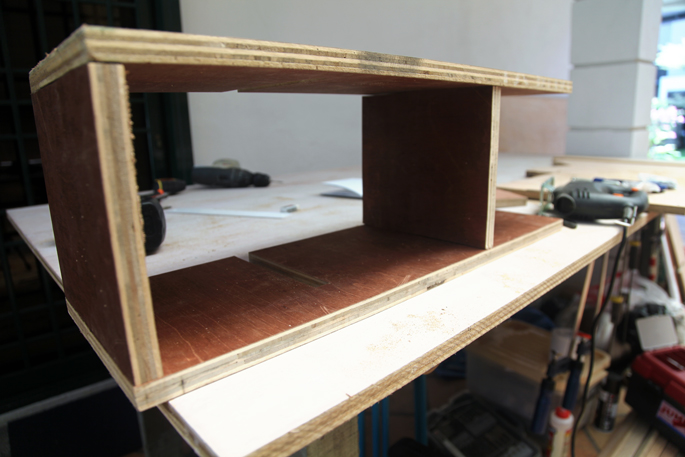
Taking a side piece, drill some sink holes where your screws will go in. Now screw a side piece to either the top or bottom panel. And keep working around until you’ve built the Tower.


Email me at jacob@hometreeatlas.com with photos if you make your own, or if you have any questions.












Comments are closed.