
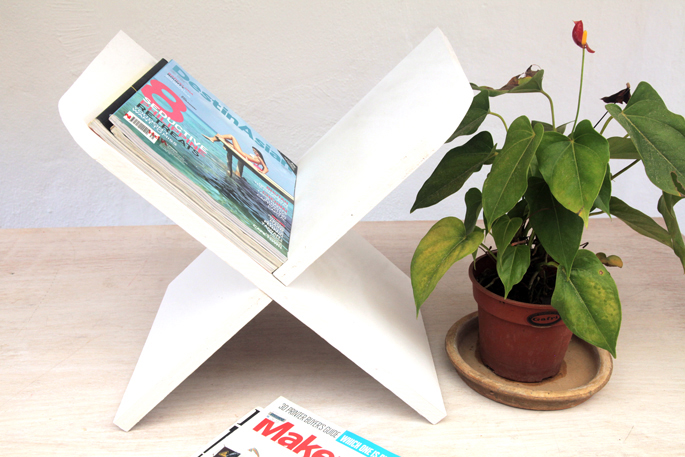
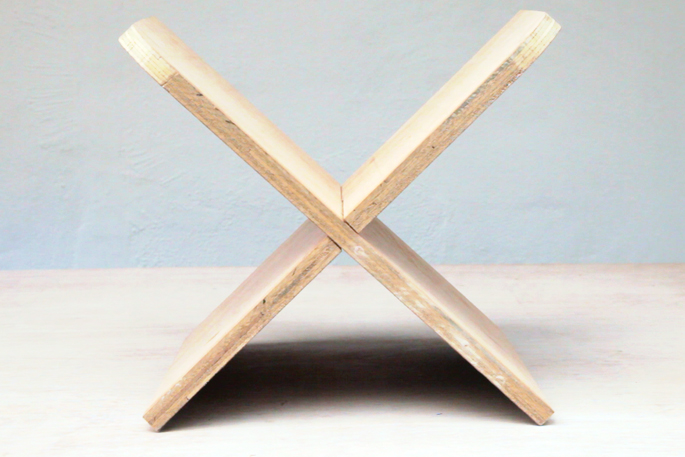
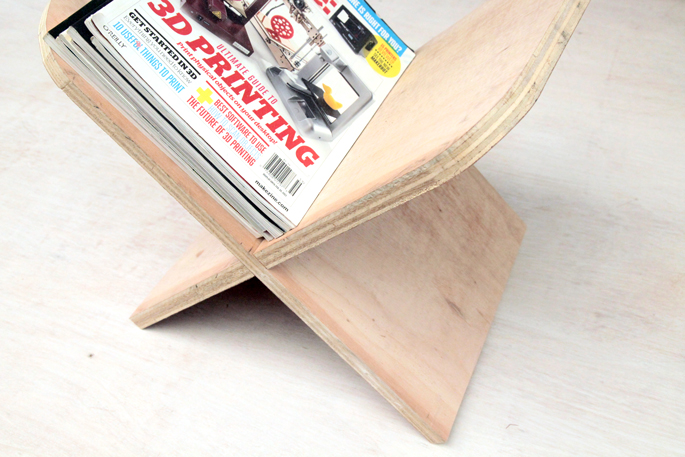
Slot two pieces of plywood together, and you have a simple magazine stand.
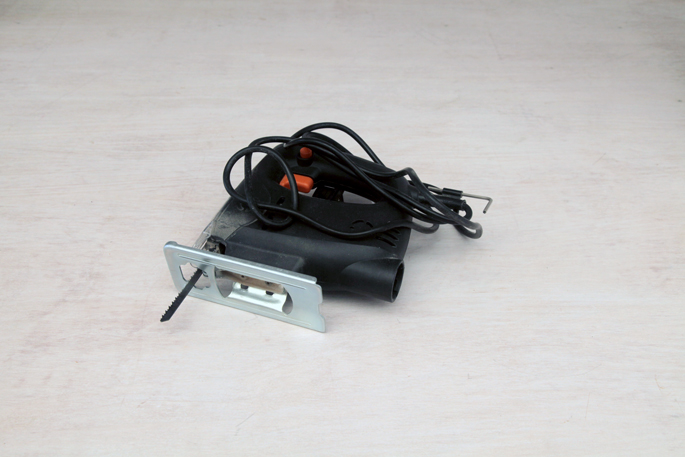
TOOLS
- Jigsaw
To cut the plywood
- Drill
I ended up having to use a drill to make a hole for the jigsaw blade to fit through when cutting the slots
MATERIALS AND SUPPLIES
- Plywood
1 inch thick plywood
- Large sheet of paper and scissors
Used to draw the template
- A curved edge
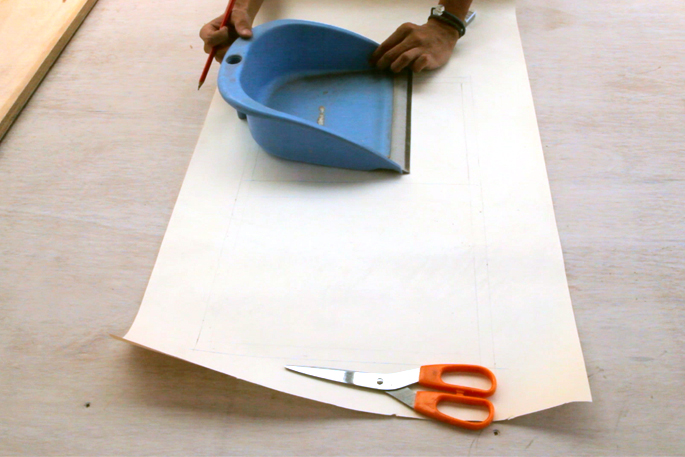
This is to draw the curved top. I used the closest thing to me, which was a dustpan
- Paint
My magazine stand ended up painted white
INSTRUCTIONS
STEP 1: Creating the template
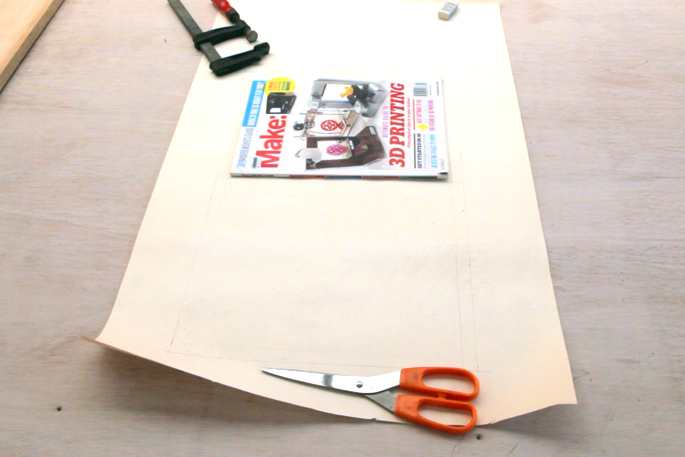
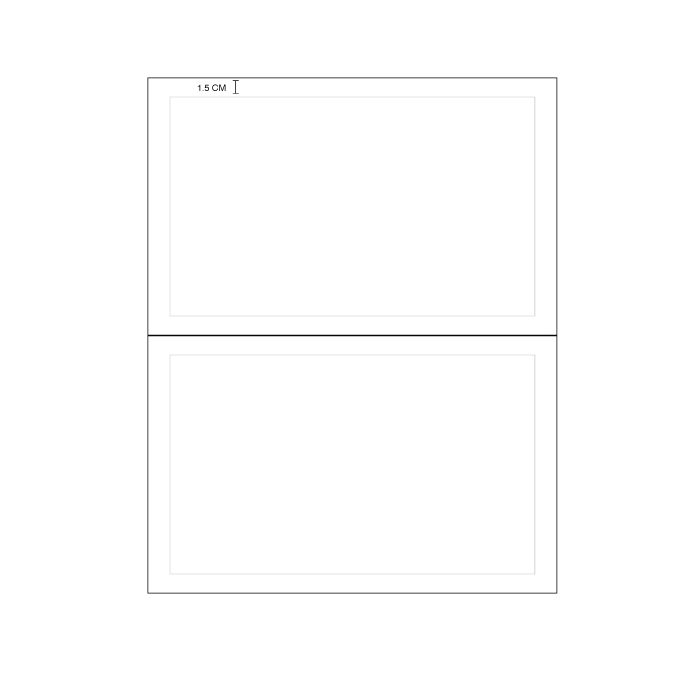
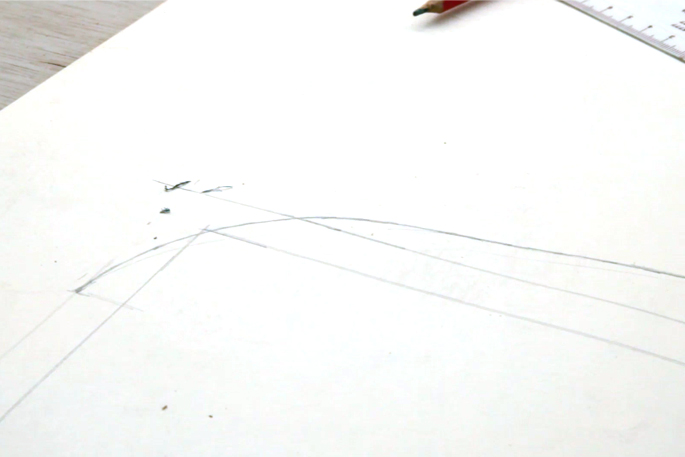
Take a magazine and draw around it. Add 1.5 cm to all sides. Then do the same above to create the top half.
STEP 2: Adding the curve
At the top left corner, I took my dustpan and traced over the curve. The curve extended up further a little more than the original dimensions.
STEP 3: Trace the template onto the plywood
Roll up some tape and stick it to the backside of the template, so that you can trace around it.
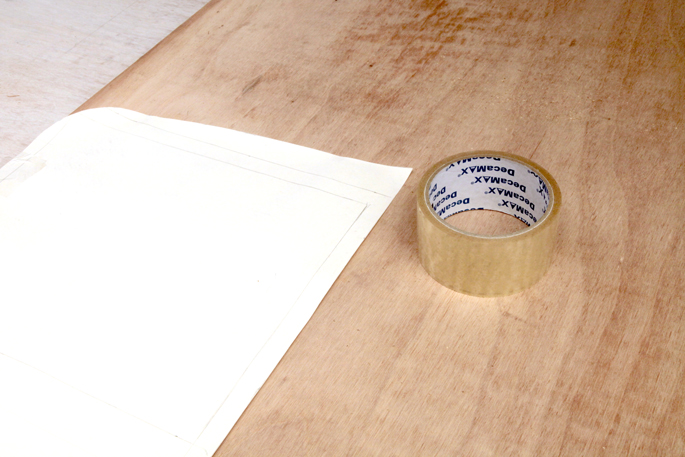
STEP 4: Cut out the boards
Cut the plywood using the jigsaw
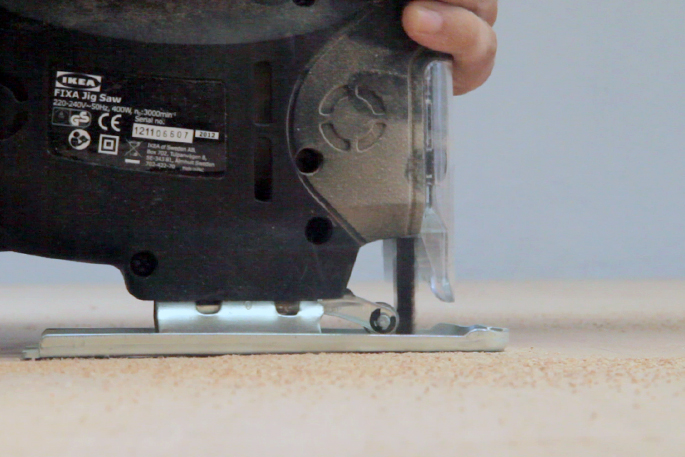
STEP 5: Marking the the first slot
Measuring from the bottom of the board to the top on the longest side, I found the center. An inch width was penciled out across the whole board – this will be cut out so that the two boards can slot together.
Next measure the width of the board and mark the center.

STEP 6: Cutting out the slots
Use the jigsaw to cut the slots. When you reach the middle, you are going to need a drill and a drill bit the size of the blade of your jigsaw. This will allow you to make the sideways cut.

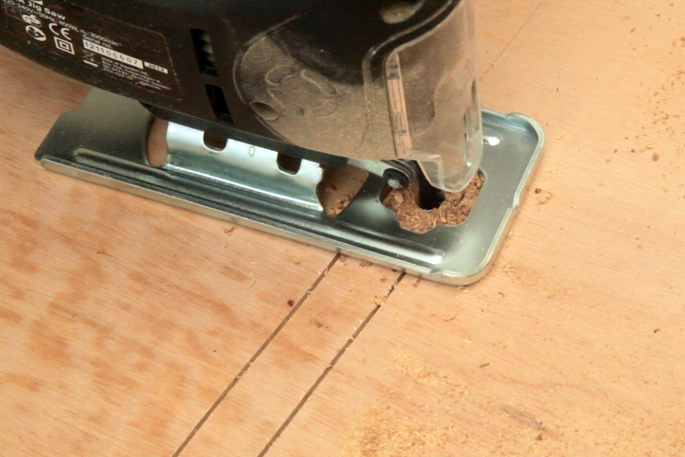
STEP 7: Repeat cutting the slot
You are going to need one board that has the slot cut out in the front, and one that has the slot cut out in the back. Both cuts meet in the middle of boards.
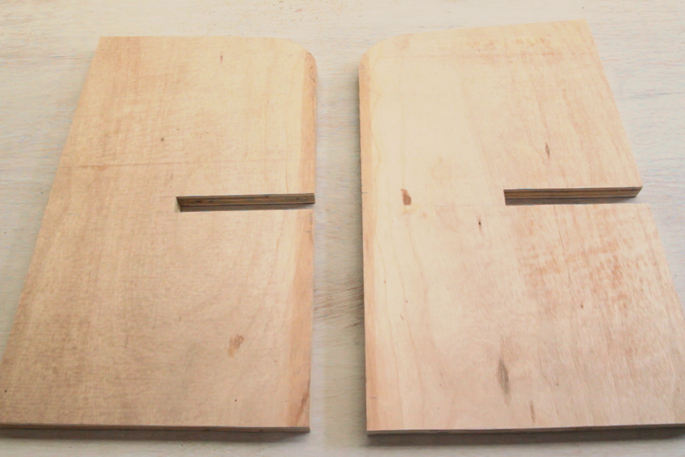
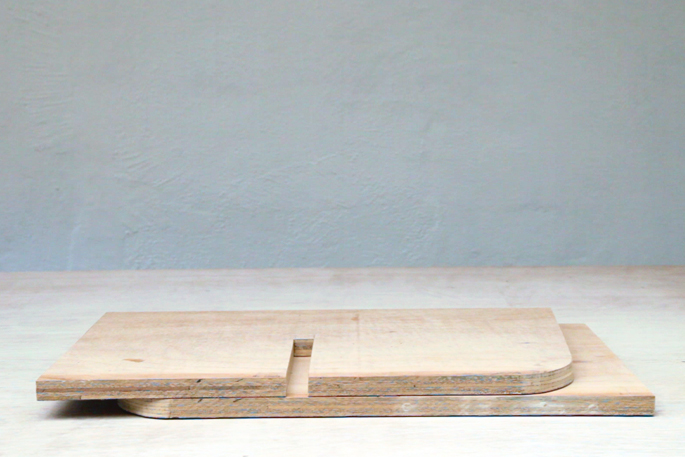
STEP 8: Trying it out
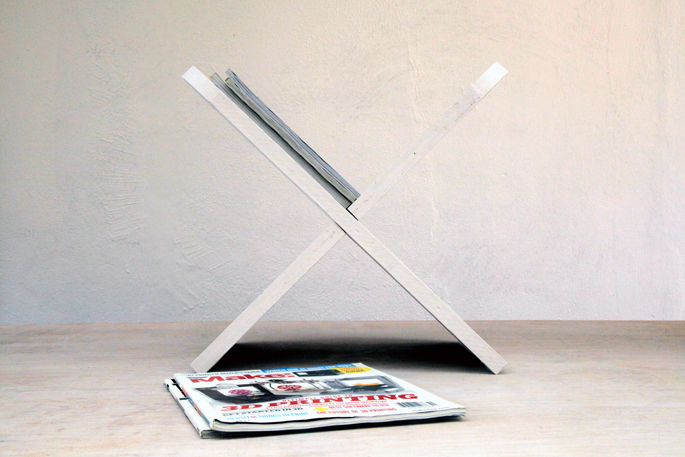
You can now slot the two pieces together, to create a semi rustic magazine stand.
STEP 9: The finishing touch
To create a more finished look, I went ahead and added 2 coats of white paint.




Email me at jacob@hometreeatlas.com with photos if you make your own, or if you have any questions.
For more DIY projects and ideas, visit The Mill @ Home Tree Atlas











Comments are closed.