
![]()
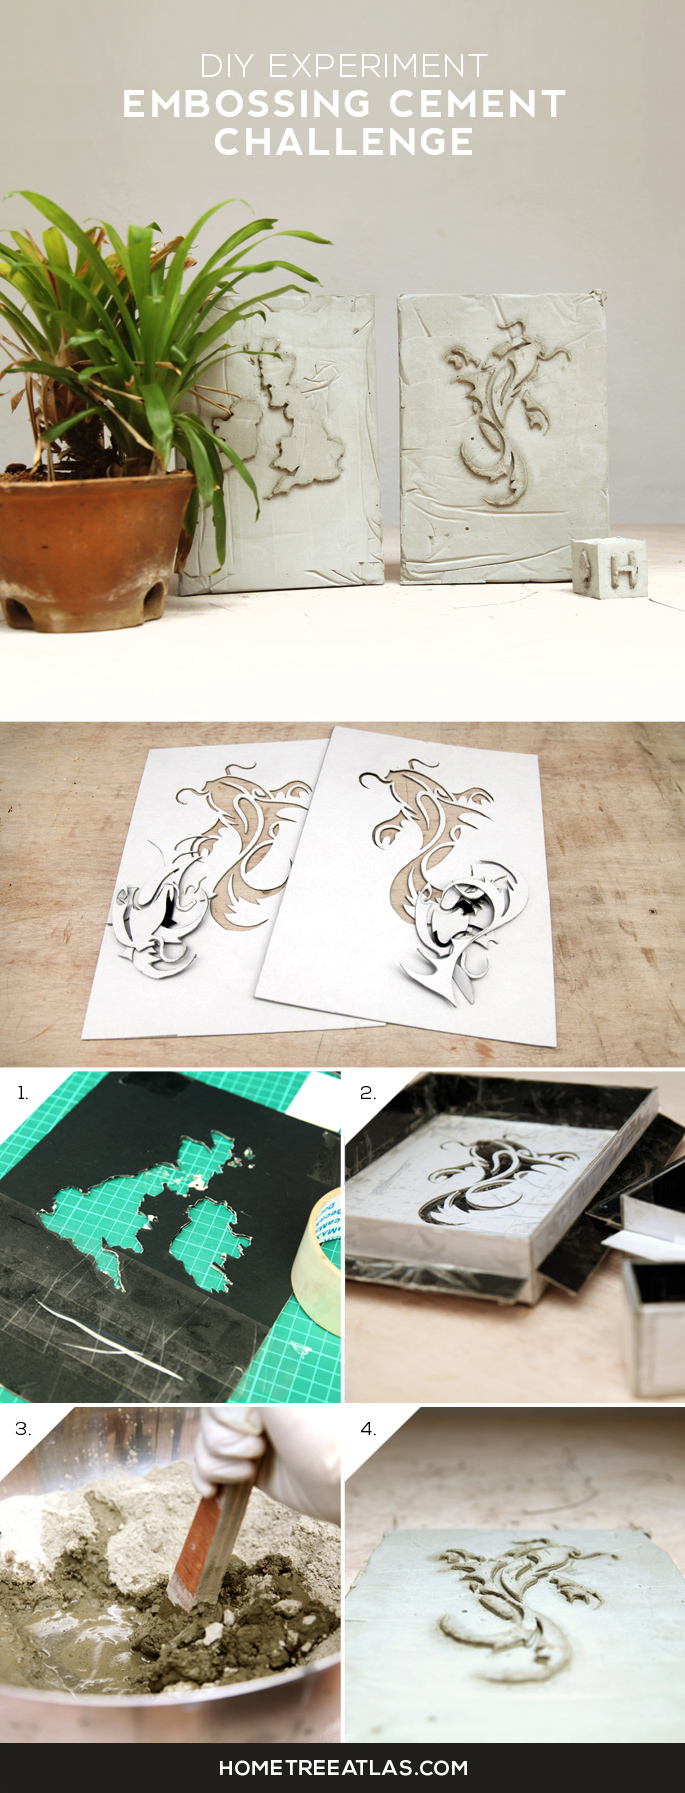
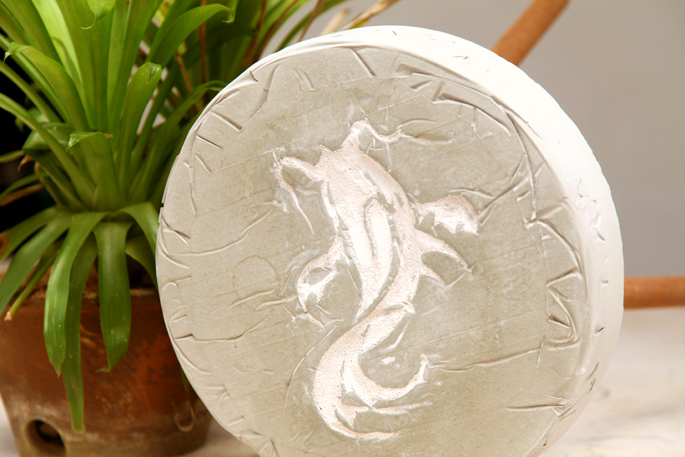
This experiment came from wondering if I could make an inlay in a cement bucket stool. You can see my DIY post of that here (DIY Remix: Koi Fish $5 Bucket Stool DIY).
There are definitely better ways of doing this. Such as using a 3D printer, or even a CNC cutter. But I don’t have any of those tools. So I went and got some cardboard.
TOOLS
- Exacto Knife
MATERIALS
- Concrete
Go for the premixed bags like Quikrete or I just mixed my own.
- Cardboard
This will be used to create the mold for the cement
- Packing Tape
Used to cover the cardboard to make it waterproof
- Design
Search for ‘black and white ________ illustration’ on google images to get a simple design that you can print out at home and cut out.
INSTRUCTIONS
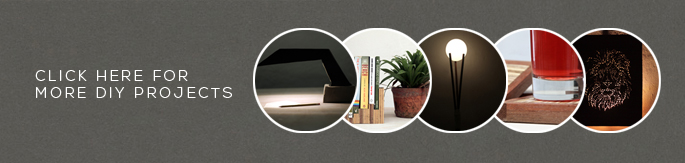
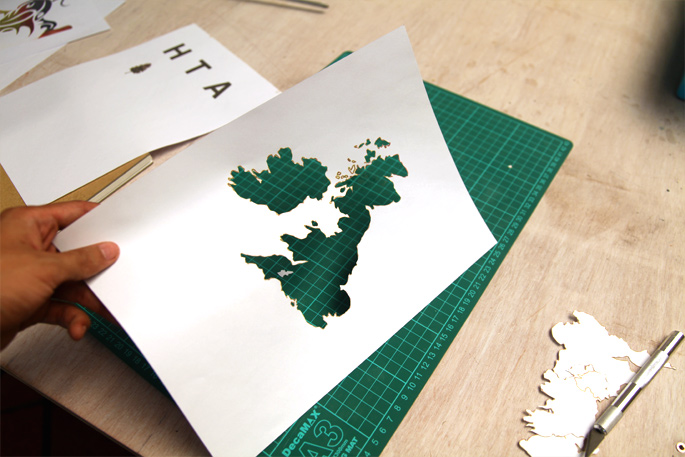
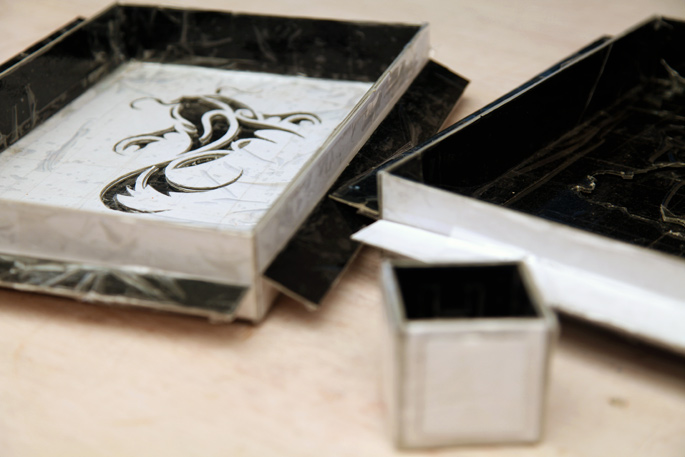
Step 1: The Template
Print out your design and cut it out using the exacto knife. Then trace it onto a sheet of cardboard, and then cut this out.
I wanted a thick embossing so I doubled up on the cardboard by tracing and cutting two sheets of cardboard.
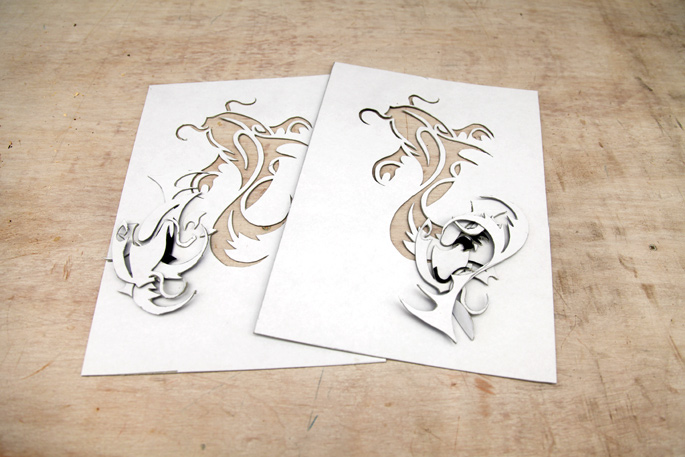
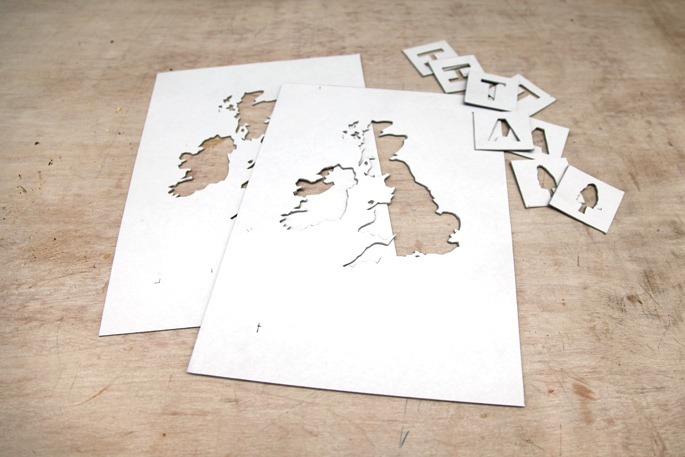
The Leftovers
The tiny leftover pieces that I cut out from the Koi Fish design, I ended up using for a stool DIY which you can find here.
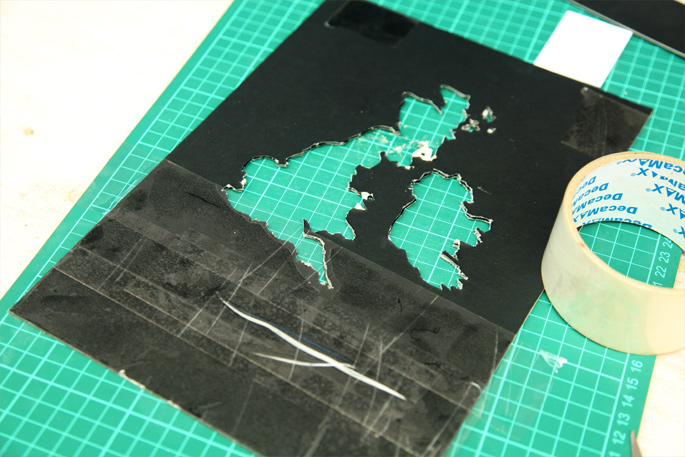
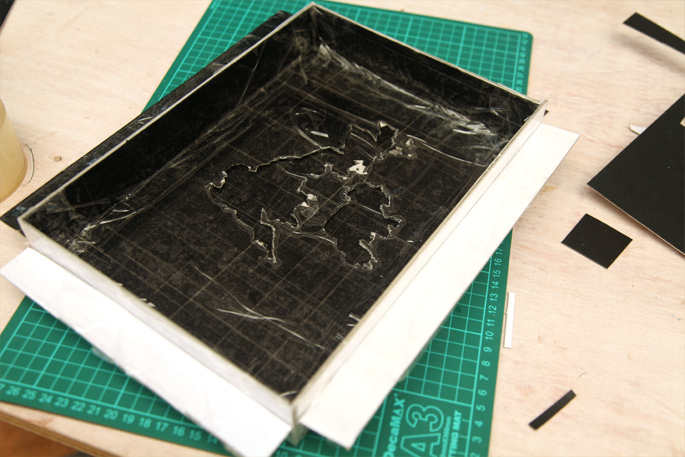
Step 2: Waterproofing
Hold the cut out templates together and cover it in tape to waterproof it from the wet cement.
Then cut out a sheet of card board that will cover up the hole. Cover it in tape, and then tape it to the template.

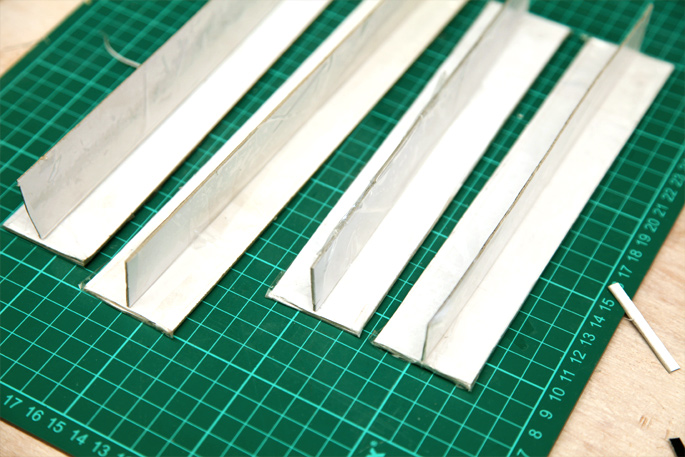
Step 3: The Box
Now we need to make the box for the cement to sit in. I just cut strips of cardboard the same size as the sides of the template. Again I double the cardboard to make it sturdy, covered it in packing tape, then taped it to the template.
Step 4: Bracing
Since I’m creating a large A4 size box for my cement, which will push out on the sides, I need to make some bracing.
Simply cut strips the length of the sides of your box. And tape them to form a T. These can then be taped to the sides of the box.
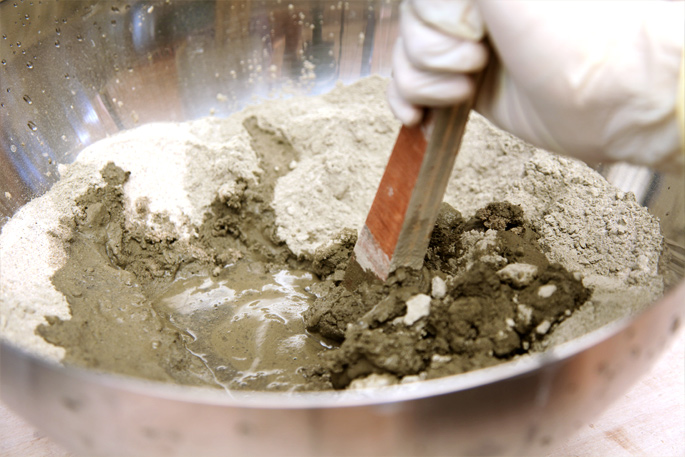
Step 5: Pouring
Mix up your concrete and start pouring. You’ll want a bit of a wet mix so that it gets into the nooks of the design.
You can shake the box gently to level the cement and to bring up the air bubbles. Also tap on the sides to rid of the air bubbles.
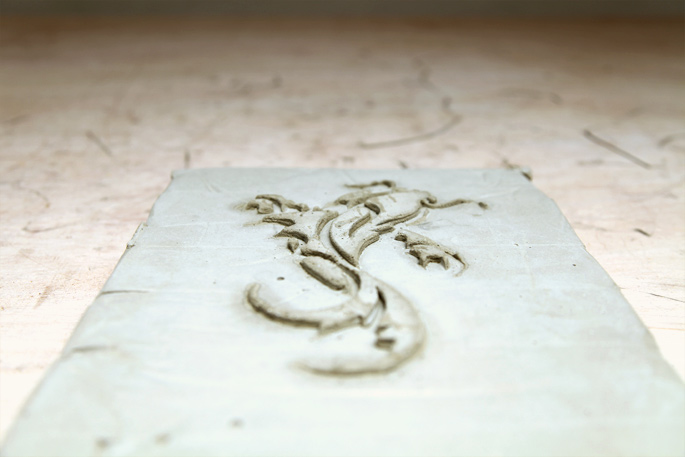
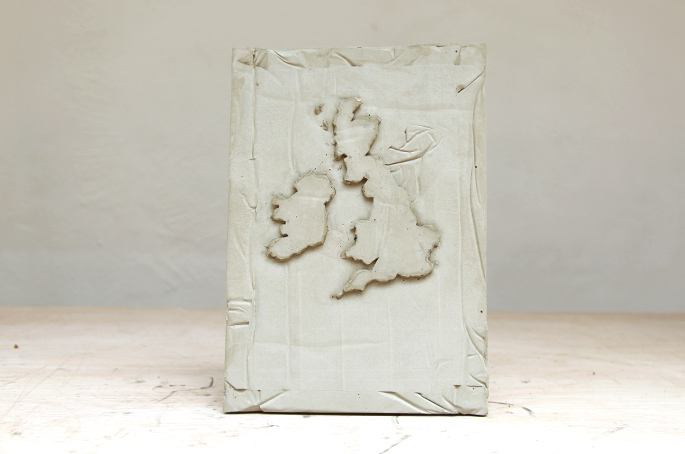
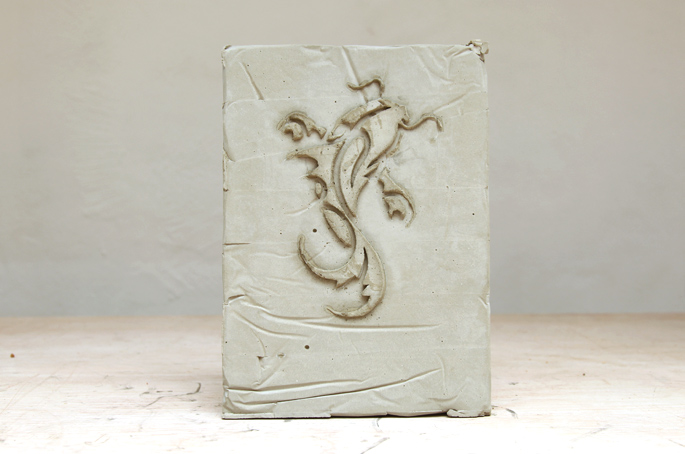
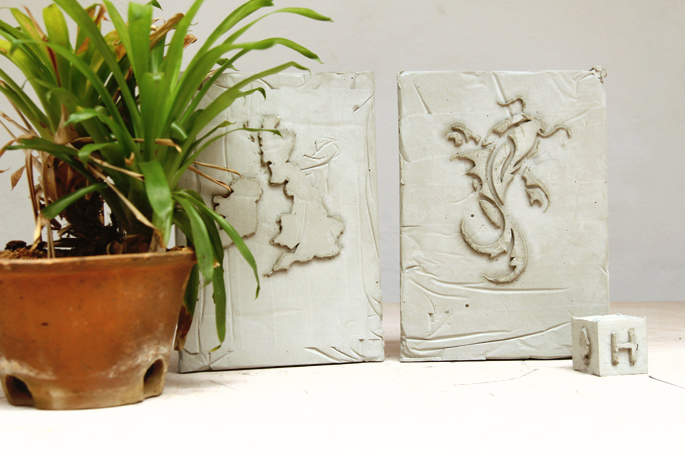
Step 6: The Reveal
Wait for 24 hours for the cement to dry. Then cut the sides of the box and gently peel back the cardboard. You might need to take the exacto knife to peel off small piece of cardboard that get stuck to the cement.
Email me at jacob@hometreeatlas.com with photos if you make your own, or if you have any questions.


Comments are closed.